Upcycling Glass Bottle
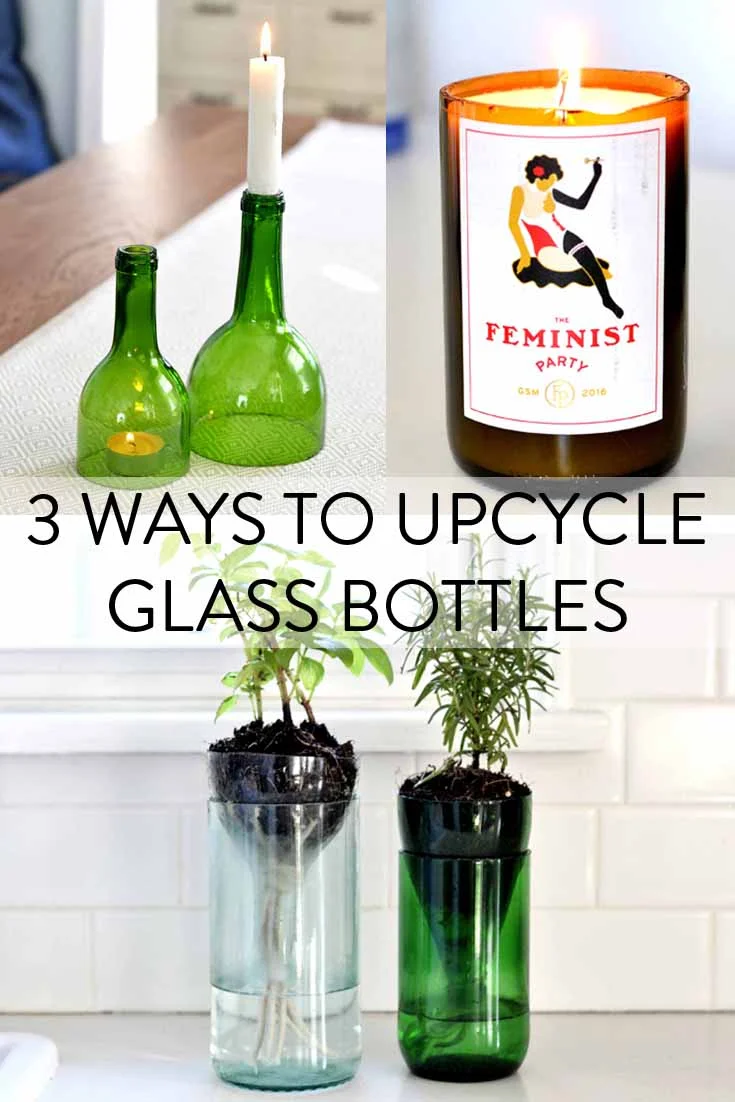
Anyone who knows me knows I can go through a good share of wine bottles each month. While I do recycle my bottles, I often wonder how much of my recyclables are actually recycled properly. With so much talk on climate change lately I feel I need to do a lot more on my part. So being a huge DIYer I tried to come up with a few upcycling ideas for glass bottles that are both stylish and environmentally friendly.
The three DIY’s I’m showing all require you to cut your glass bottles. In this video I give a little crash course on how to cut bottles. There are many ways to cuts glass bottles all over the internet but I decided to go the easy route and use a this bottle cutter.
The basic principles of bottle cutting using a bottle cutter are to make a score in the bottle and then apply to extreme temperatures to the scored line.
Here are the steps I used.
Start by lining up your bottle cutter where you want your cut line.
Tighten both side of the bottle cutter making sure each side is pretty even. I’ve found the best cuts are when the beginning cut and ending cut match up perfectly.
Push in the top lever with the blade and start twisting. You don’t want the bottle cutter to be too tight around the bottle. The bottle cutter should rotate somewhat easily. When you get to the other side you will hear a little pop.
Fill a large pot of water and bring it to a boil and fill another pot with ice cold water. The more ice the better.
So now you’re going to dip and rotate the glass bottle in the boiling water. You should probably use gloves for this, just to be safe. After about 30 seconds dip it in the ice cold water. You will have to repeat this several times until you hear a pop and viola the bottle will break apart.
Get some ruff grit sand paper and sand all the sharp edges.

DIY #1
Handmade Candles
The first diy is a simple candle that I think would make a great gift for your bff’s of their favorite wine bottle or if you just have a really awesome bottle you don’t want to get rid of.

Materials:
1. Candle Wax (soy wax is best)
2. Essential oils
3. Two pots and a stirring stick
4. Hot glue gun
6. Candle wicks. (I like the look of wood wicks)
Getting Started:


Put a little drop of hot glue on the bottom of the wick and set it in place.


2. Add about 3 inches of water to a large pot.
3.Put your wax in a melting pot and place into the pot of water.


4. Stir frequently until wax is completely melted and reaches 180 degrees.


5. Drop in your favorite scent or even get creative and mix a few together.
6. After your scents are mixed together let your wax cool for a few minutes before you pour into your jars.

7. Fill up your candles and wait for them to dry.

DIY #2
Candle sticks
The second diy is also candle related and is an idea of what to do with the tops of your bottles. It could also be a great gift or just a cool way to dress up your dining table.
Simply sand and clean off bottle tops and pop in some candles.

DIY #3
Self-watering Herb Garden
This last diy is probably my fave. It’s a self-watering herb garden. It includes both parts of the bottle for zero waste. You could even use a plastic bottle for this one.
Let’s get Started!
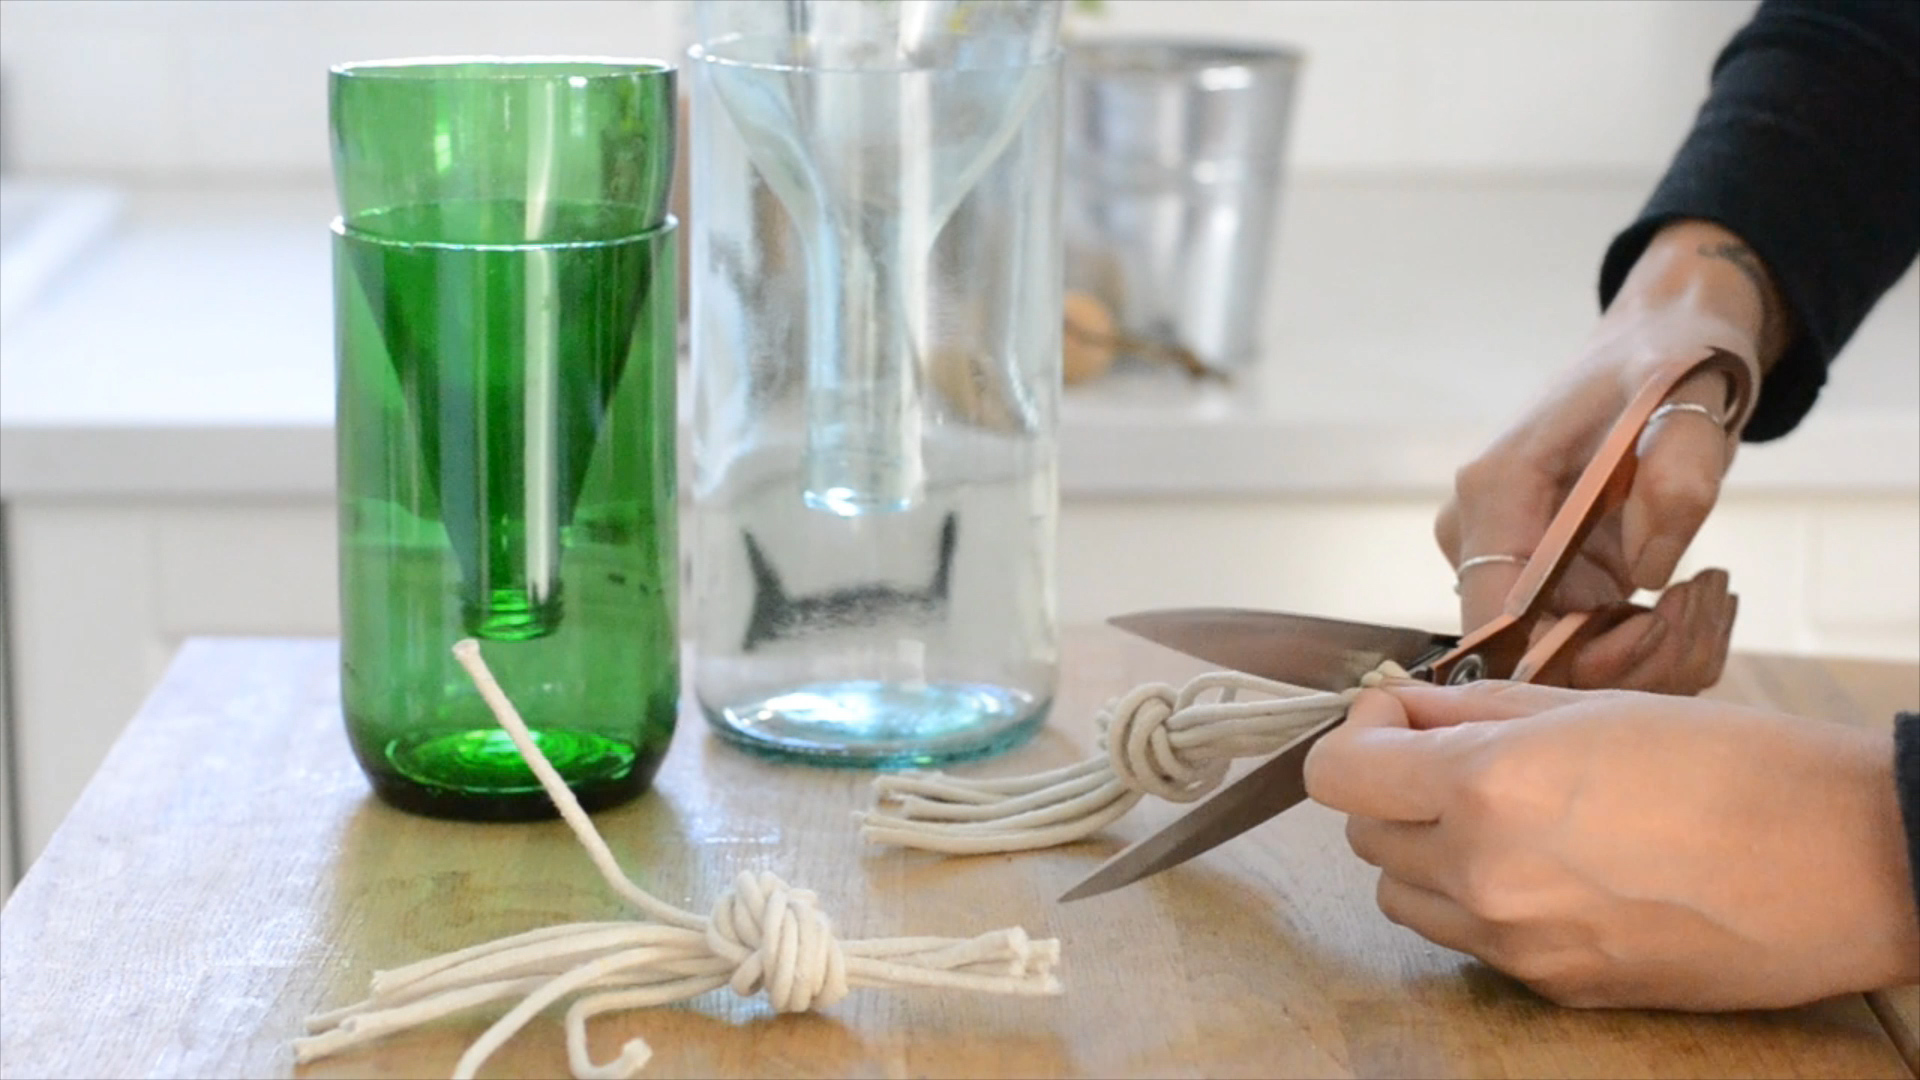
Start by getting a few strands of thick string and tying them into a knot.
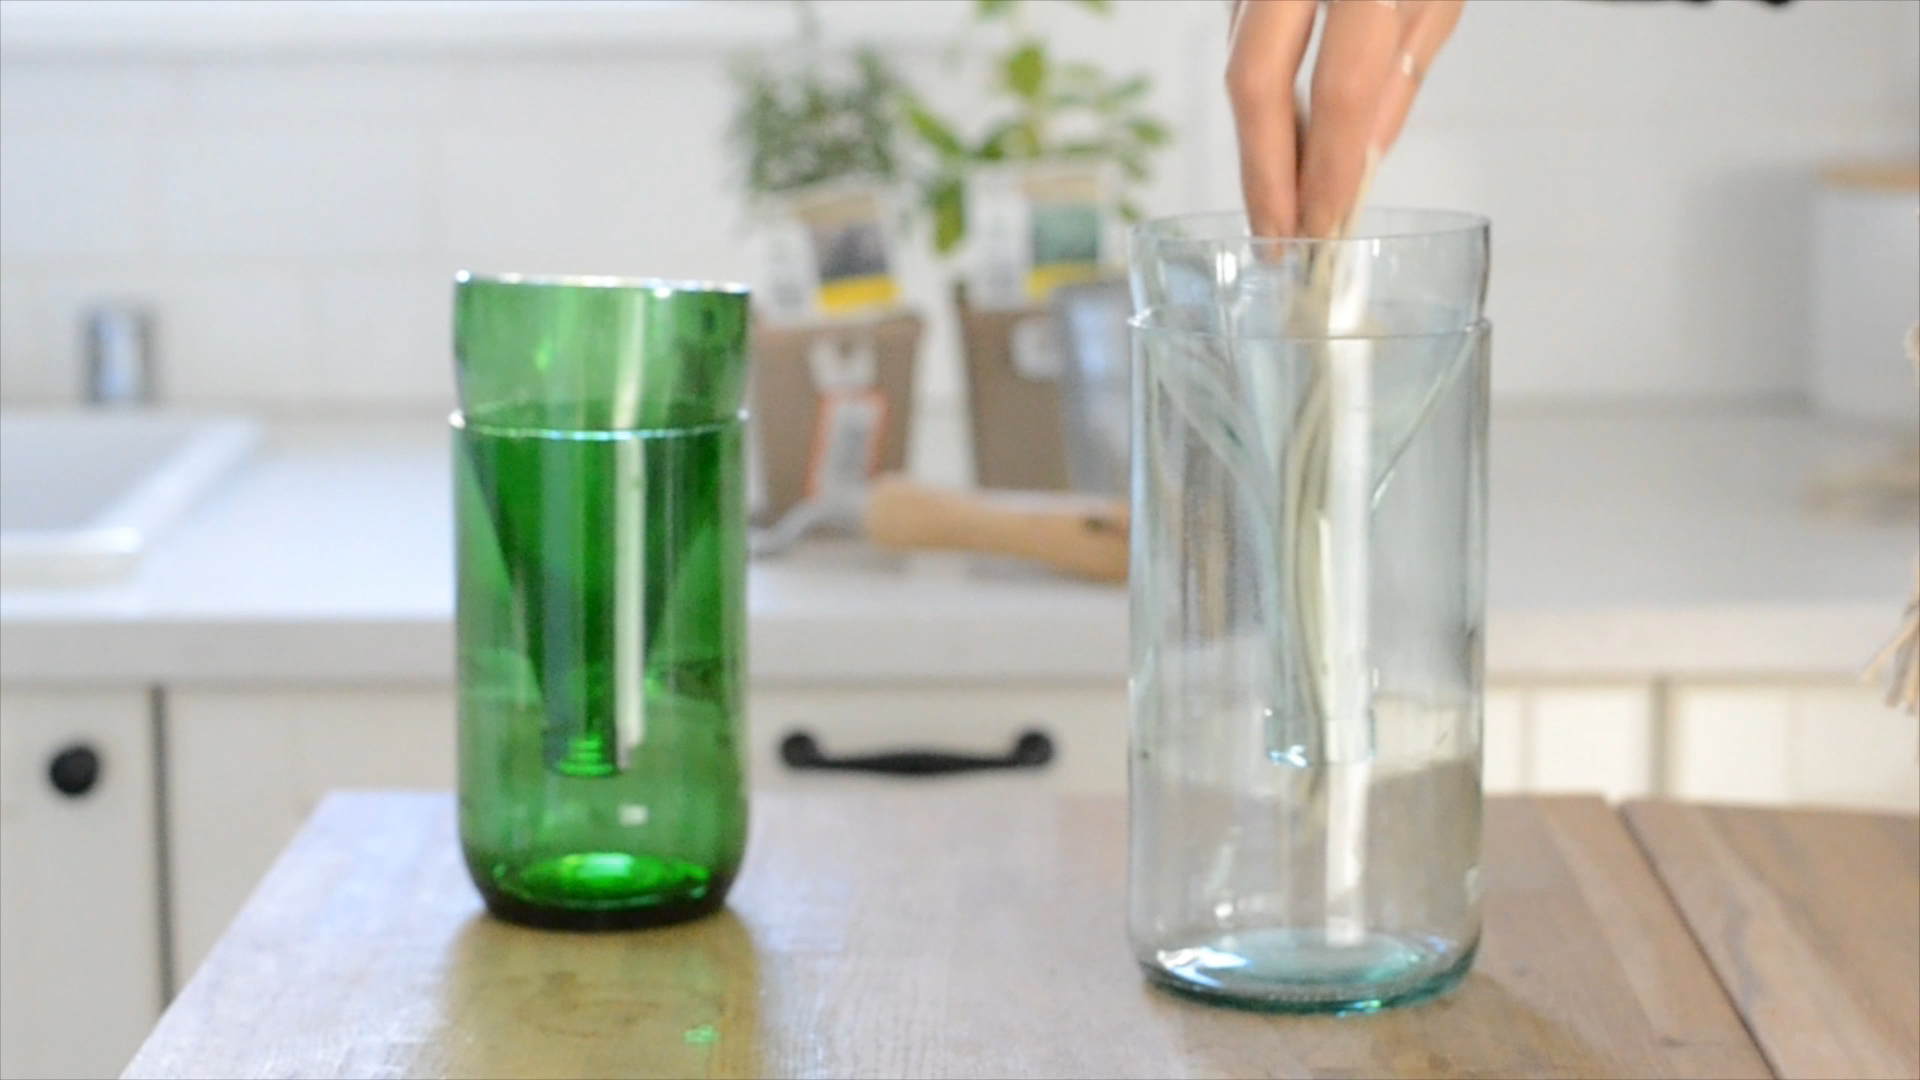
Place them into your bottles and make sure the strings are touching the bottom of the glass.
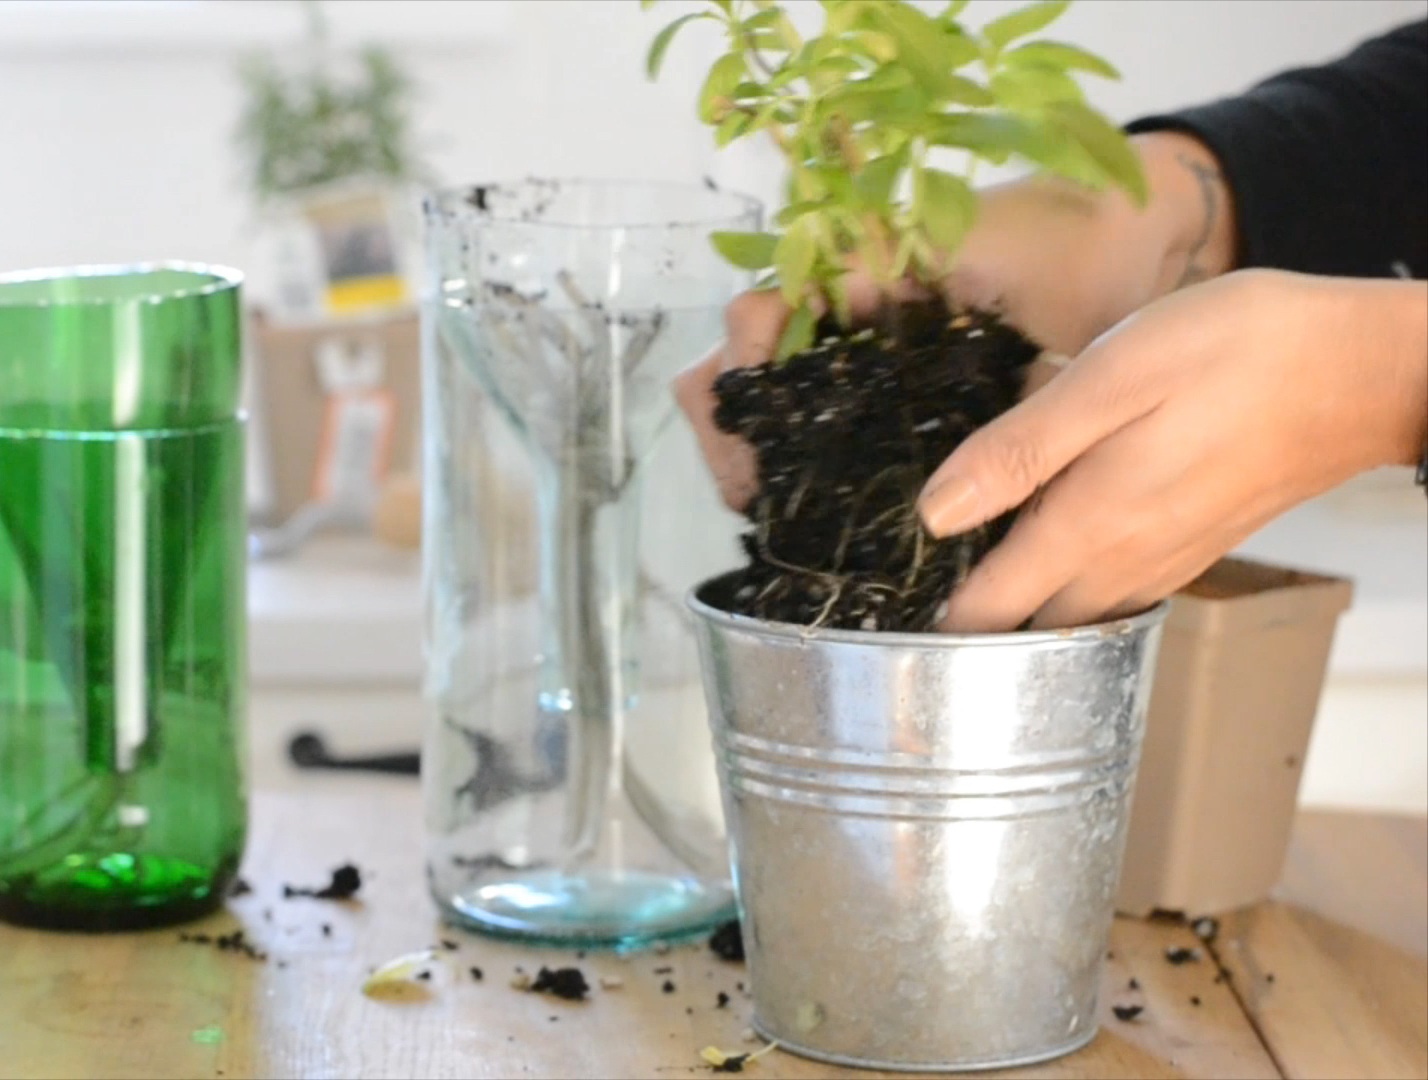
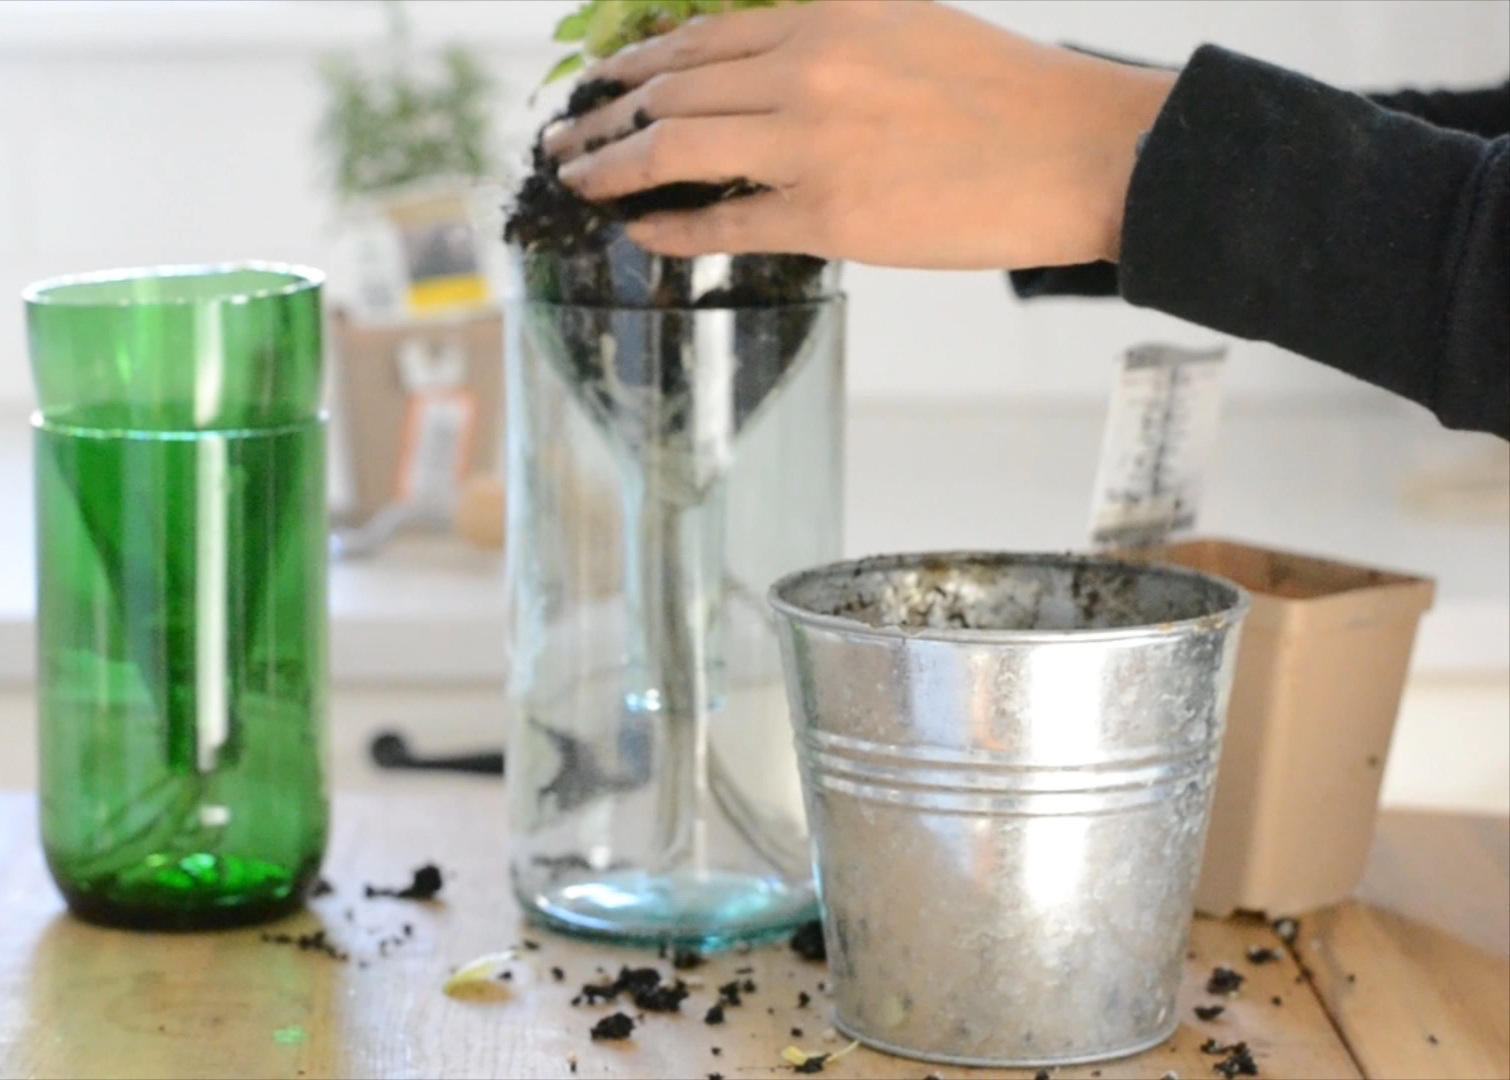
3. Loosen up the roots of your plant and put it into the top of your bottle.

4. Put a little bit of water in the bottom and there you have it a self-watering herb garden.