DIY Butterfly Chair

So I want to start out with being totally honest and saying that this DIY was a challenge and not as easy as I thought. I actually thought of giving up a few times, but I pulled through and looking back there are definitely some things I can improve but overall I’m happy with the outcome and happier that I finished what I set out to do. One of my New Year’s Resolutions is to pull through and finish all the projects I start.
My inspiration comes from the butterfly chair sold from Urban Outfitters for over $200. I thought it would be a fun challenge to see if I could recreate on from an old camping chair. For this DIY you’ll need a camping chair without armrests. The one I had laying around was small in size, so the overall chair actually would be great for a kid or cute if you’re just looking for something small.
So, there are a lot of parts to the project and a lot of sewing, so I would suggest getting some help with an experienced sewer. If you are an expert sewer you should be good at this and can probably find better ways of doing some steps. I am a beginner sewer and kind of figured things out as I went. So any tips or advice is welcomed.

Materials
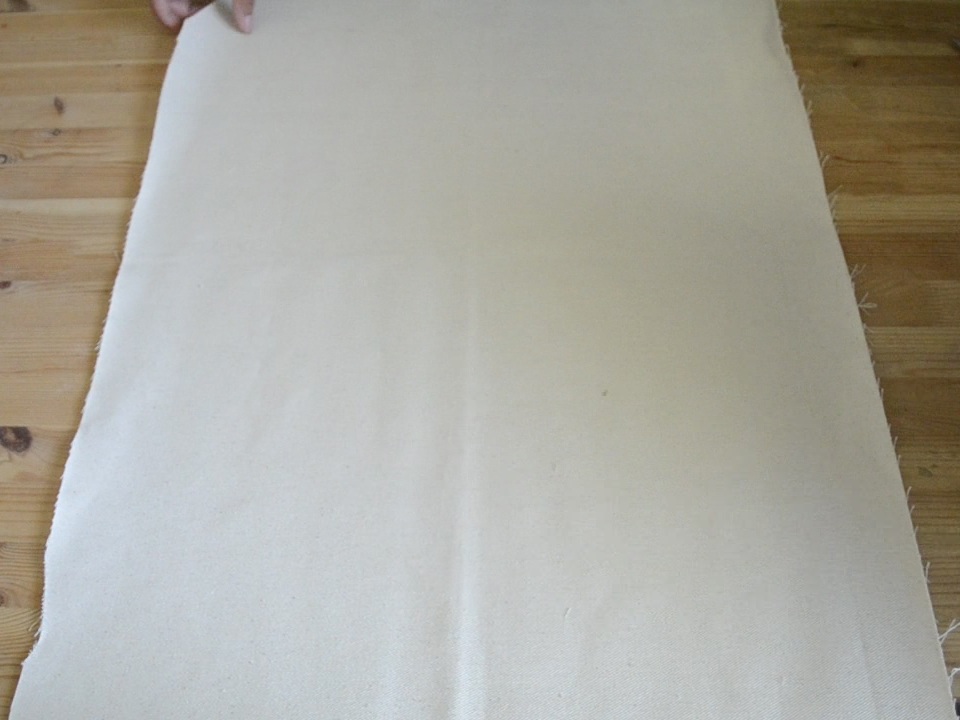
· Canvas 2-3 Yards
· Leather 1-2 Yards
· Glue gun
· Scissors
· Sewing machine and thread
Let’s get started
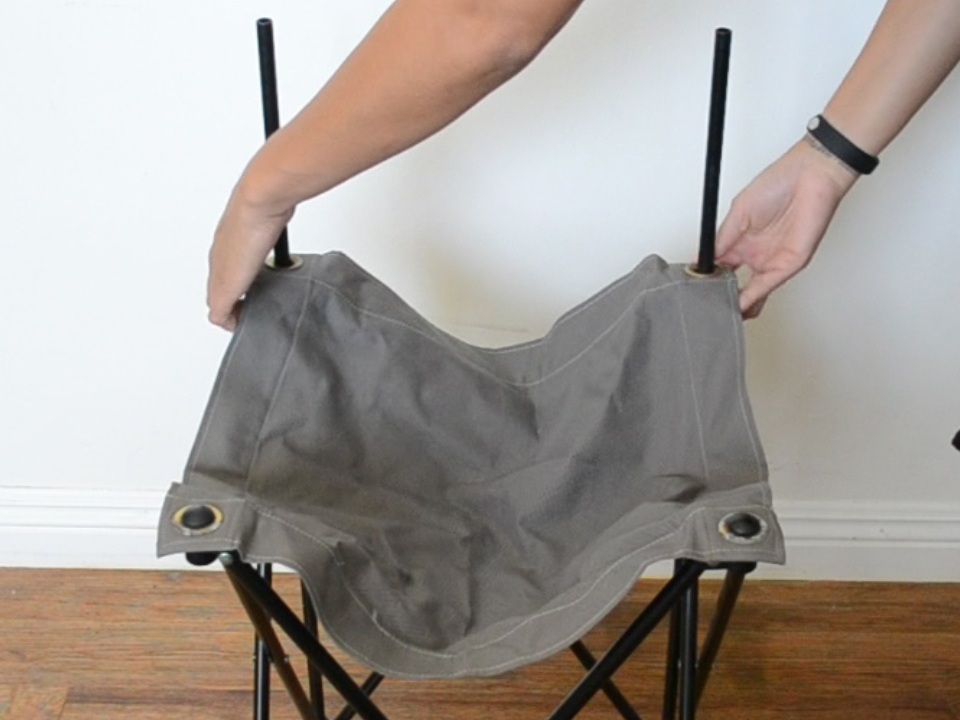
1. Remove the canvas from the camping chair, leaving just the metal frame.
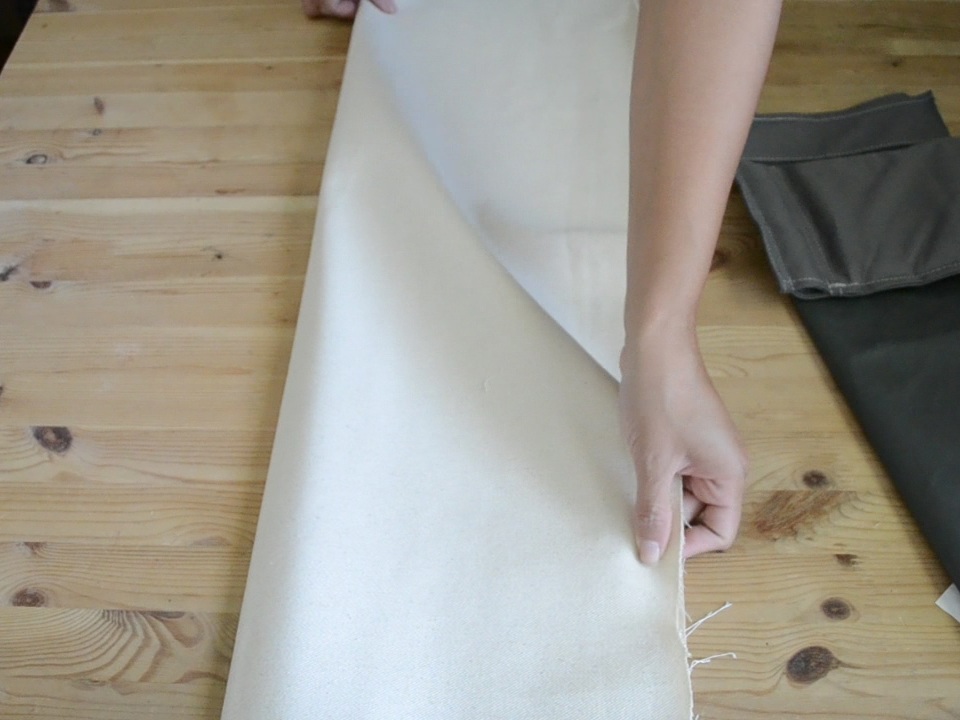
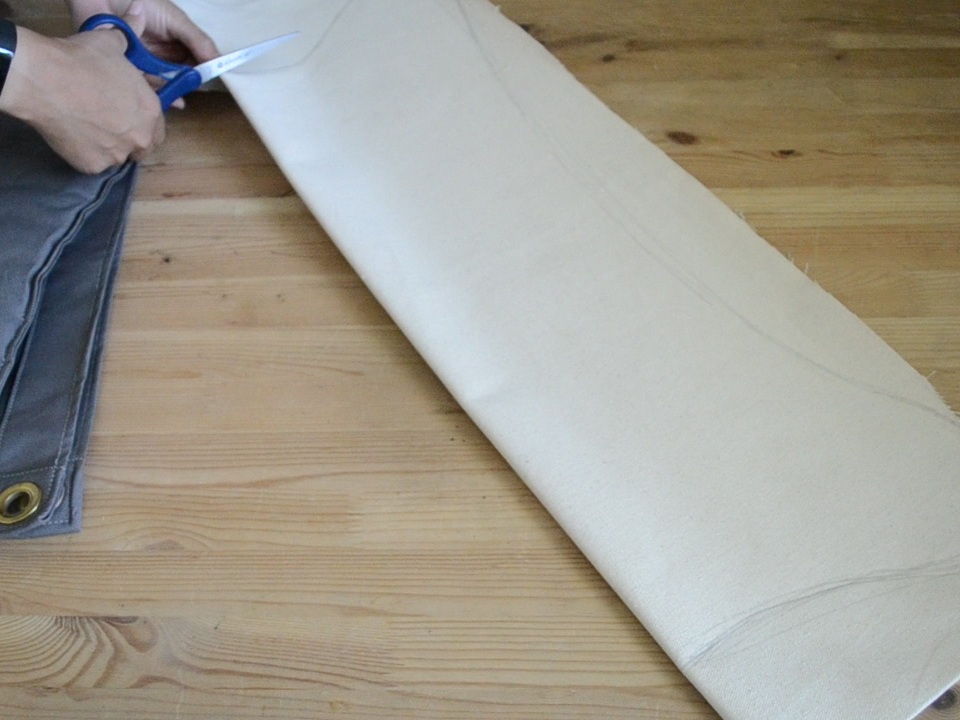
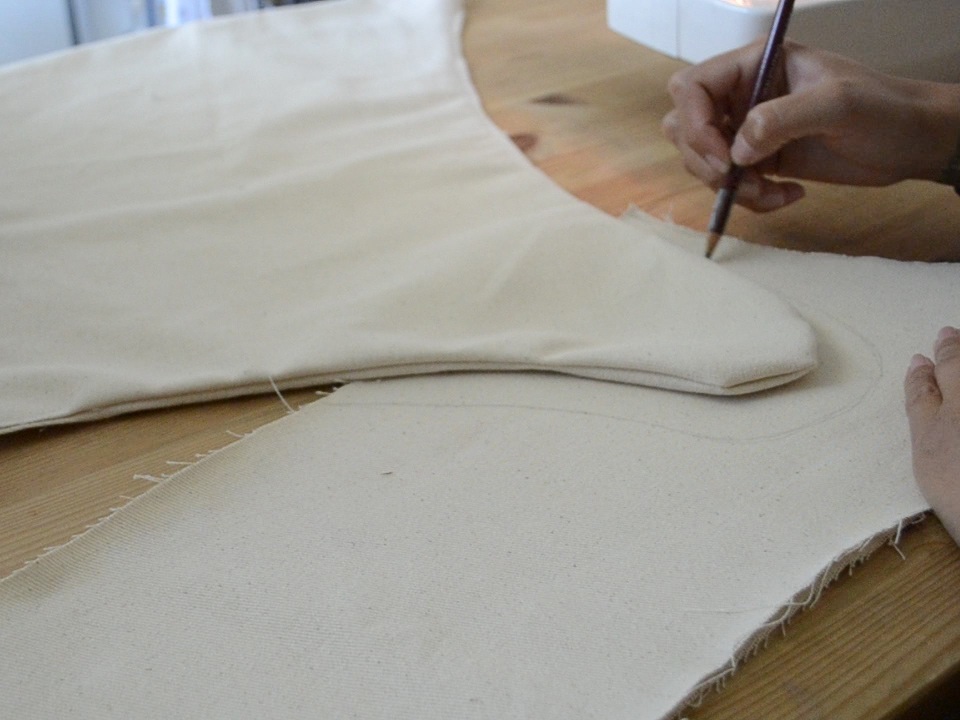
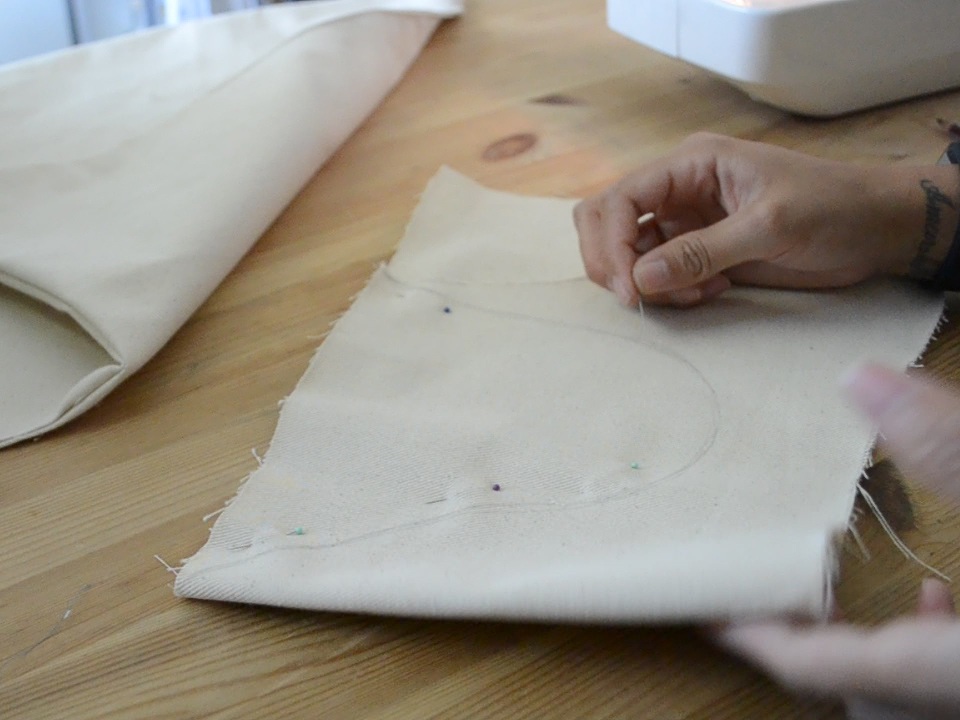
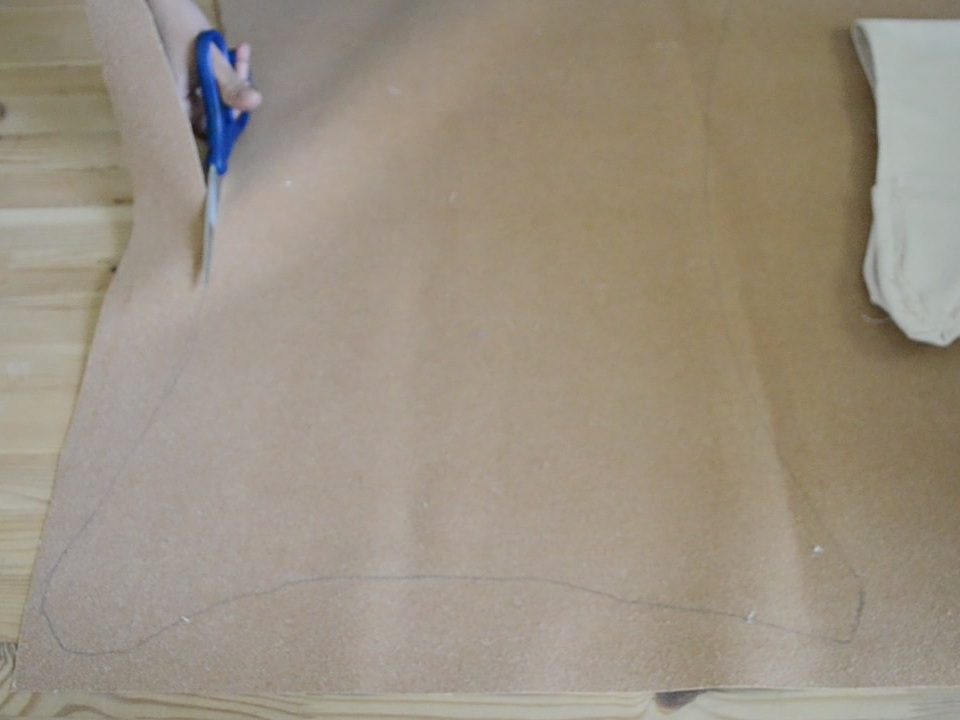
2. Take two pieces of canvas, one on top of each other and fold them in half. Use the old seat of your chair to measure out the size of your new chair. Place the back rest about 4 inches above the seat and draw out the butterfly shape. Draw around the seat cover creating rounded corners and some what of an hour glass shape.
3. Cut out your shape. Giving you two pieces of the same shape.
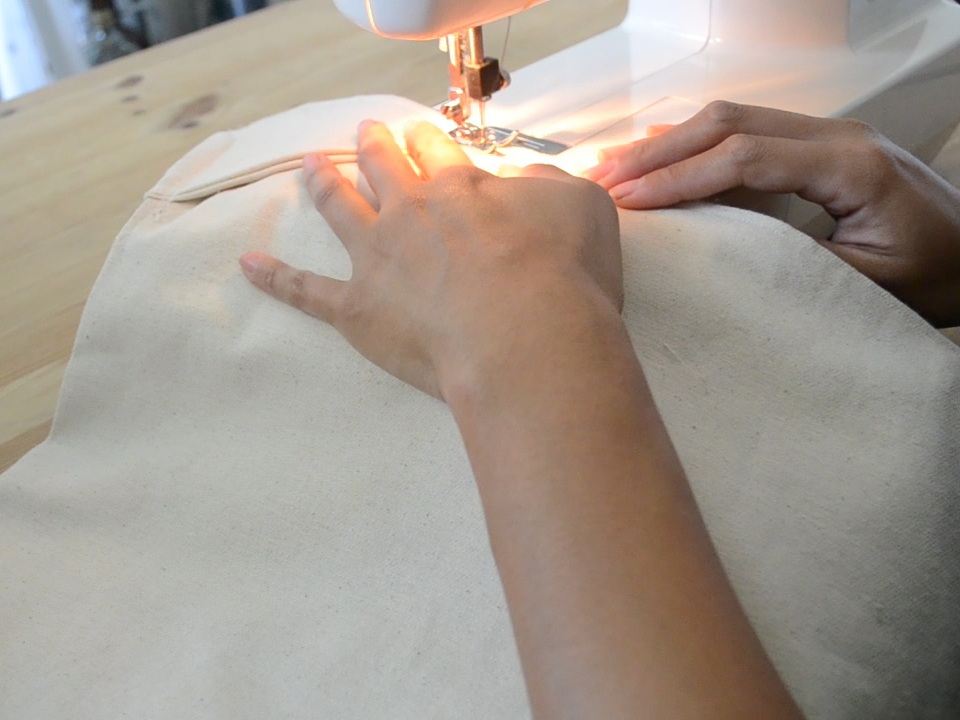
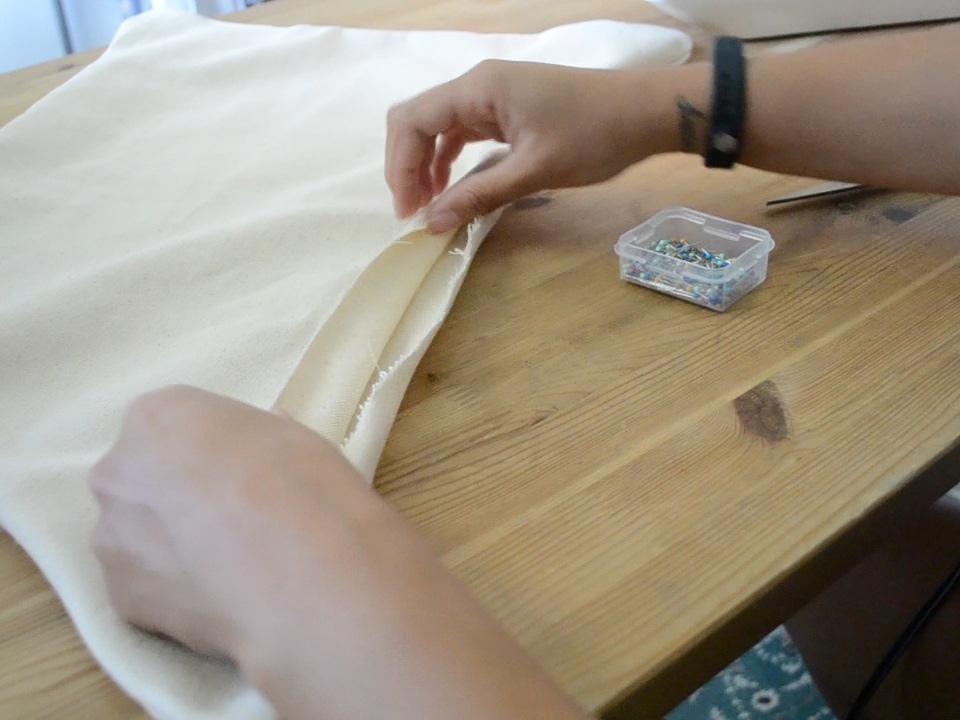
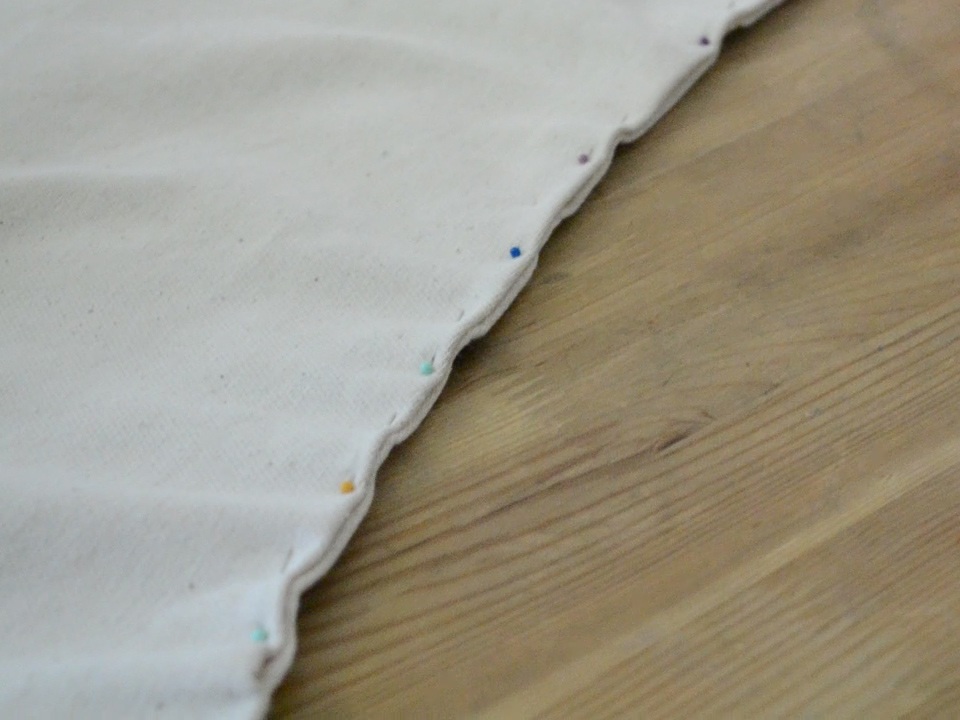
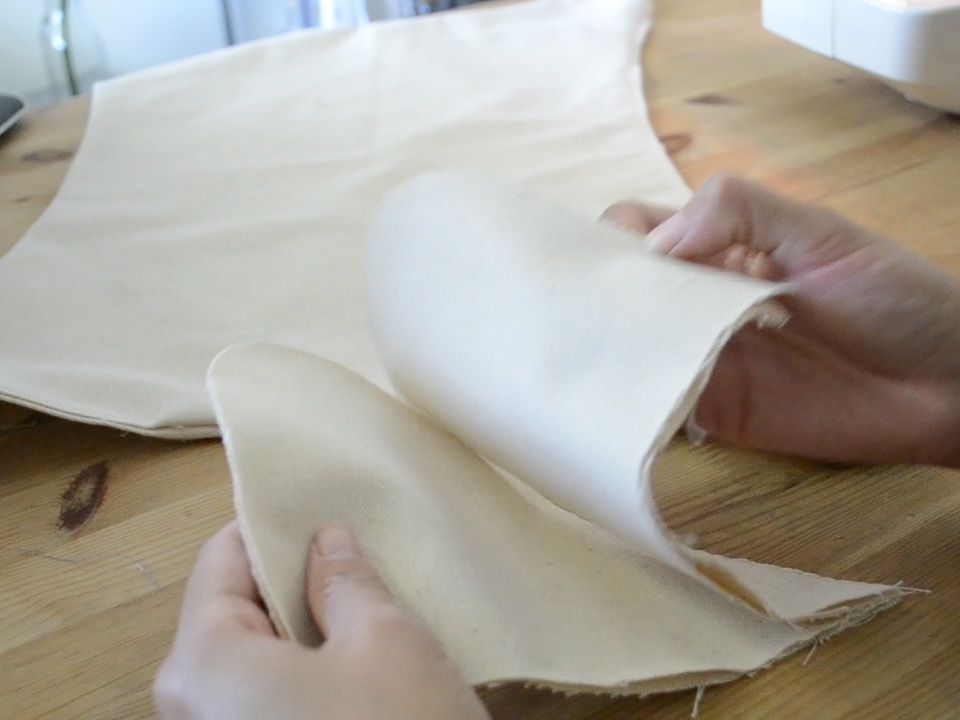
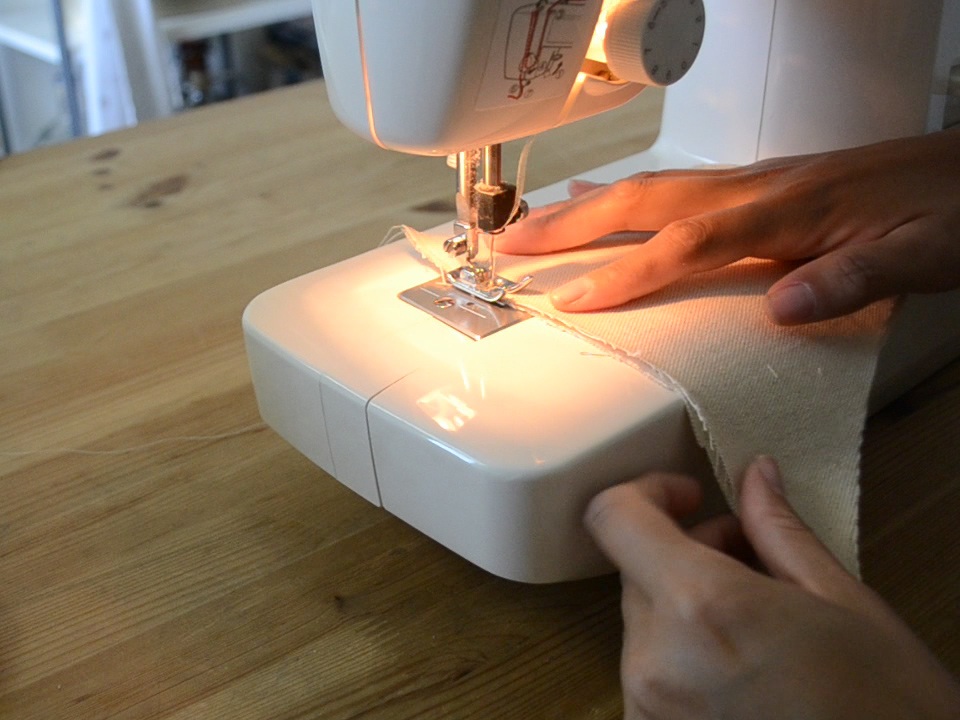
4. Sew along the edges of the two pieces of canvas. Leave about six inches or so open at the end so you can turn it inside out.
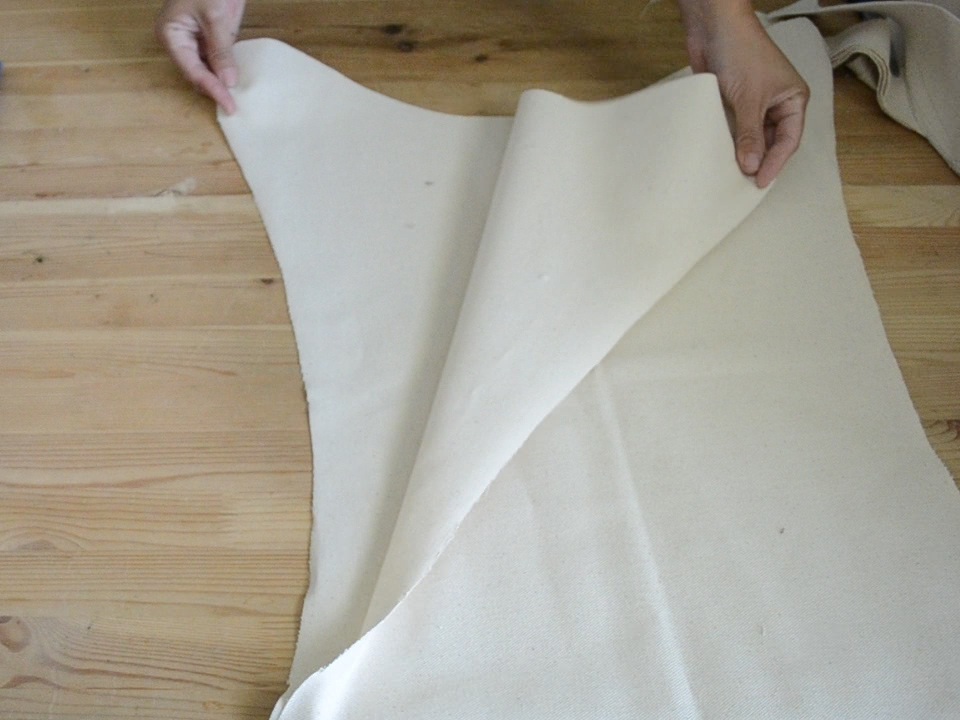
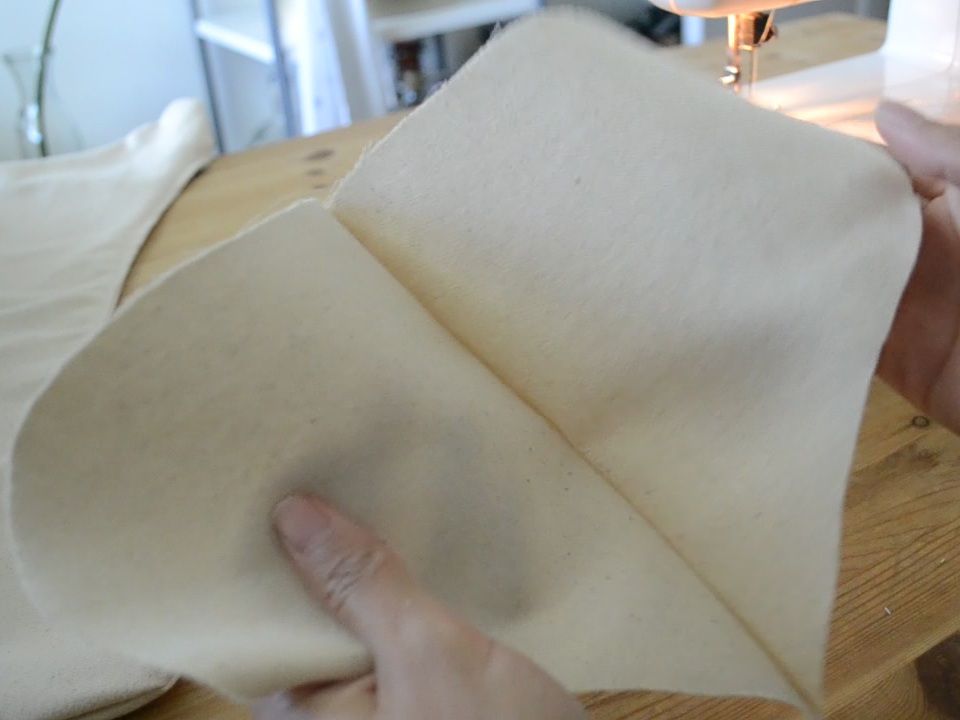
5. Now, that your seat is turned inside out, we need to close up the opening. Fold in the edges and pin to create a seam. Then sew it shut.

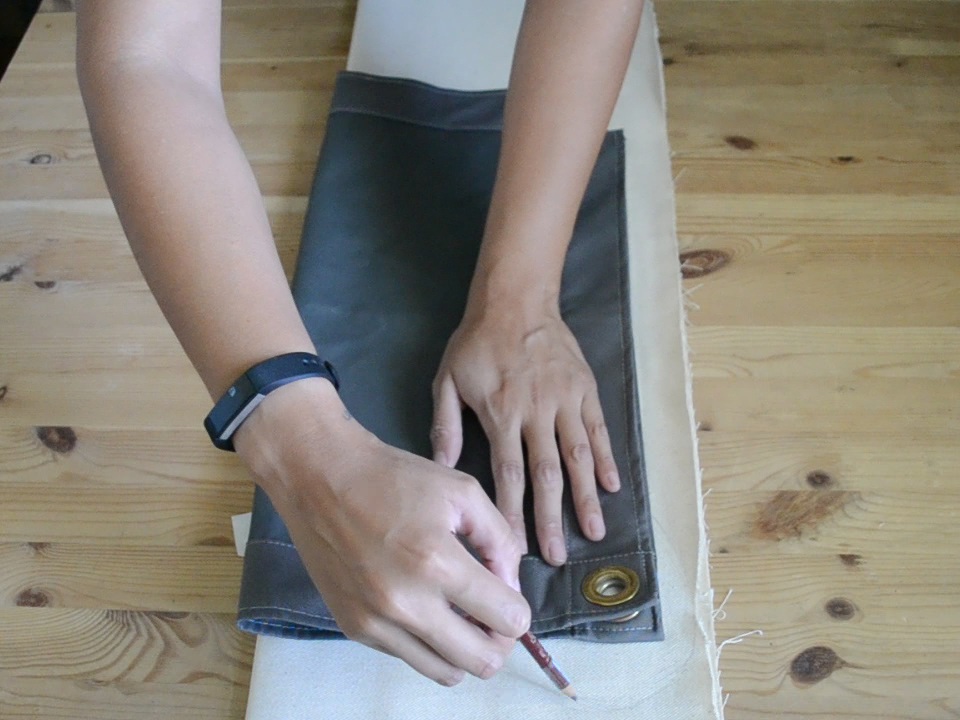
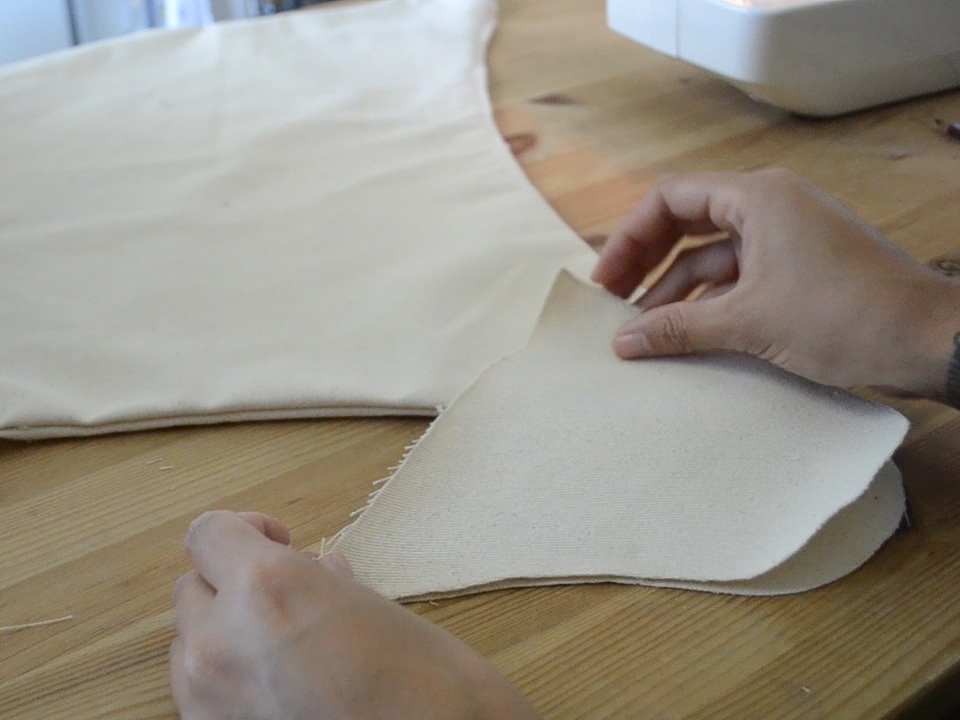
6. Now we need to make the pockets for the seat that will slip over the chair frame. Take two strips of canvas large enough to make pockets and place them on top of one another. Place both of them under one of the corners. Trace around the corners leaving about half an inch between.
7. Then fold the strip of canvas so when you cut out them out you’ll have two corner cutouts (4 pieces in total). I pinned all four layers together so it would be easier to cut.
8. Do this for the top are of your seat corners as well. You should have a total of four pockets (8 pieces of canvas in total).

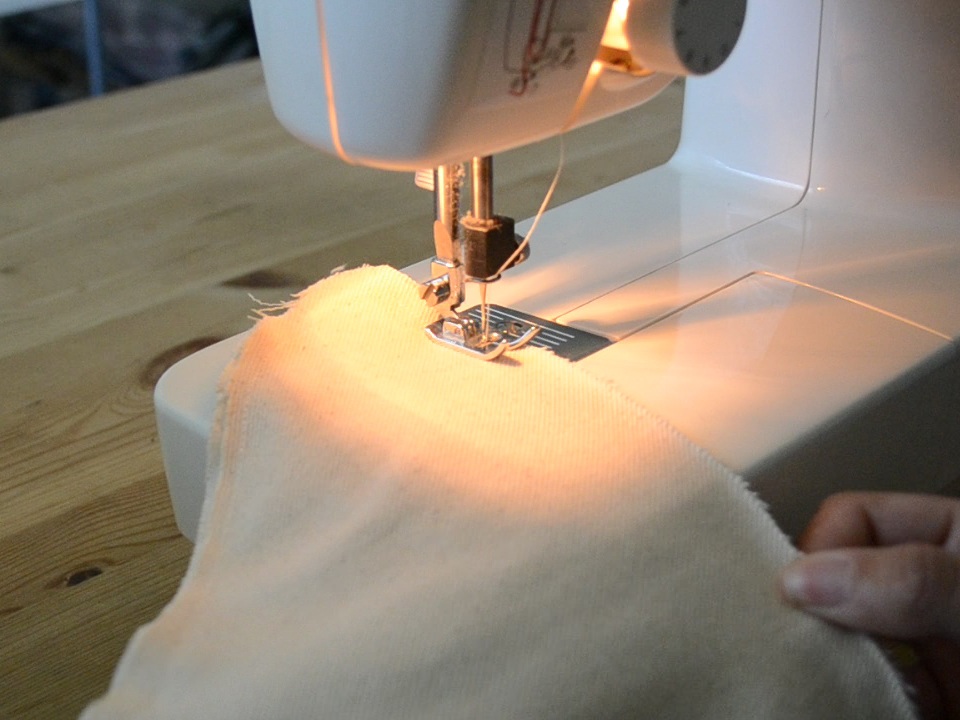
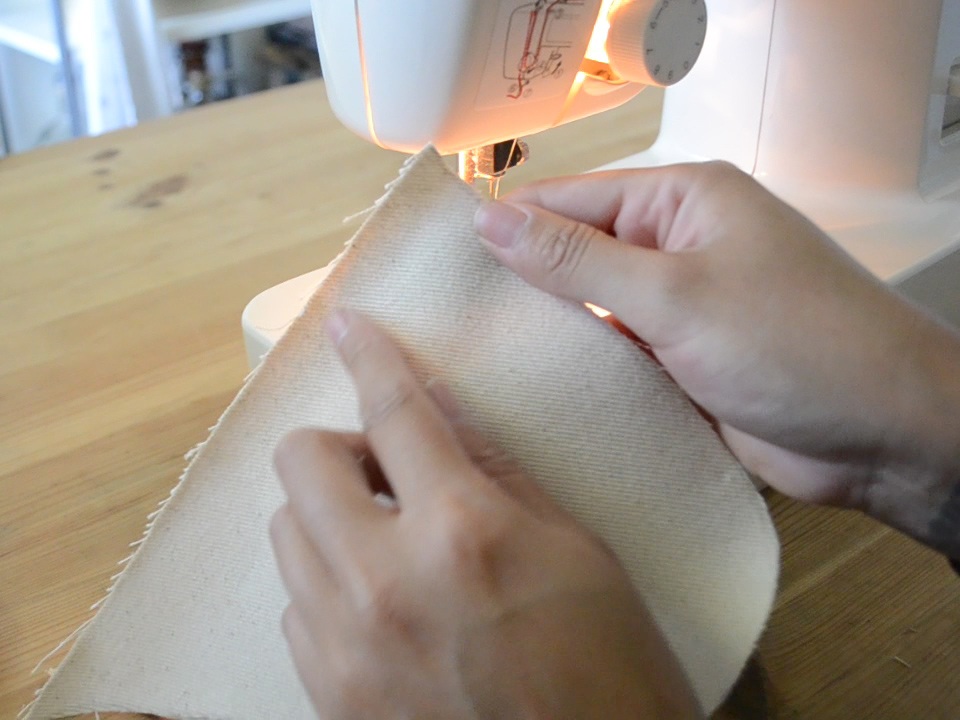
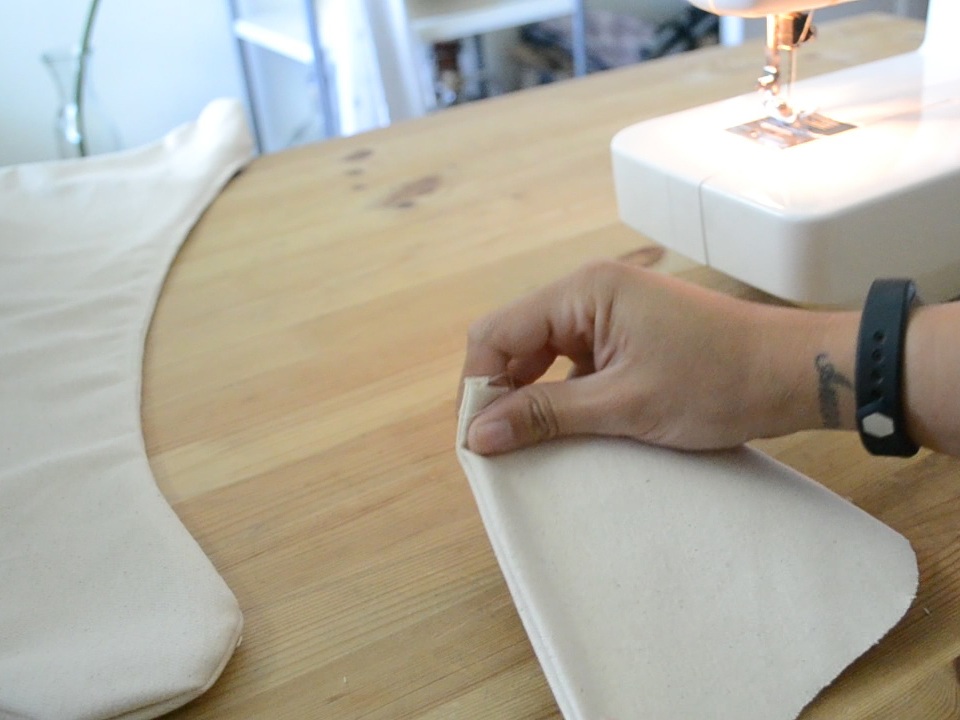
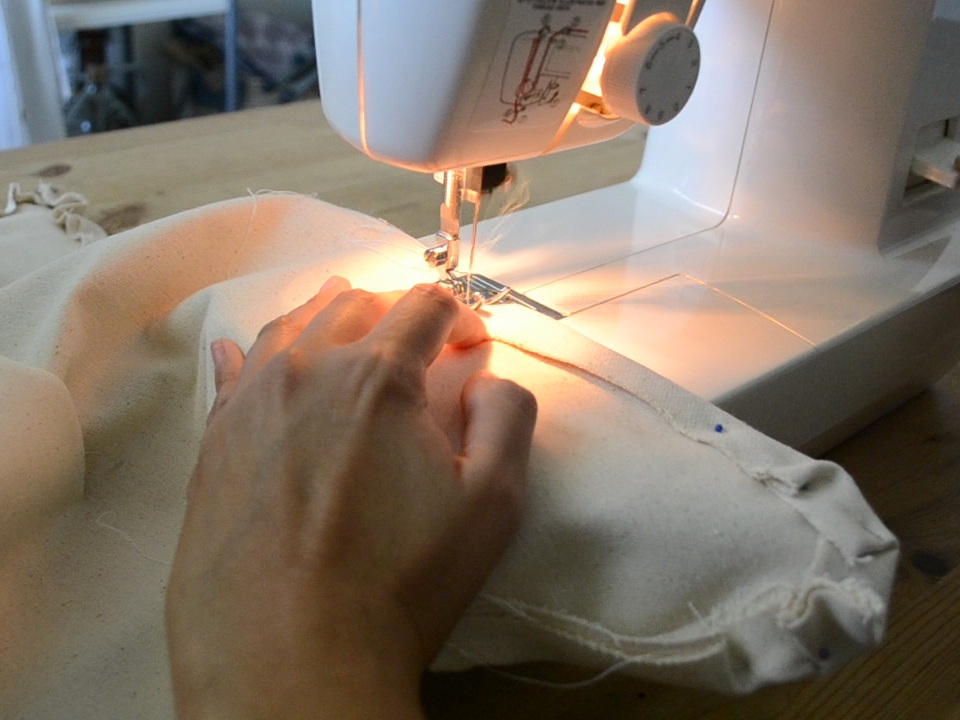
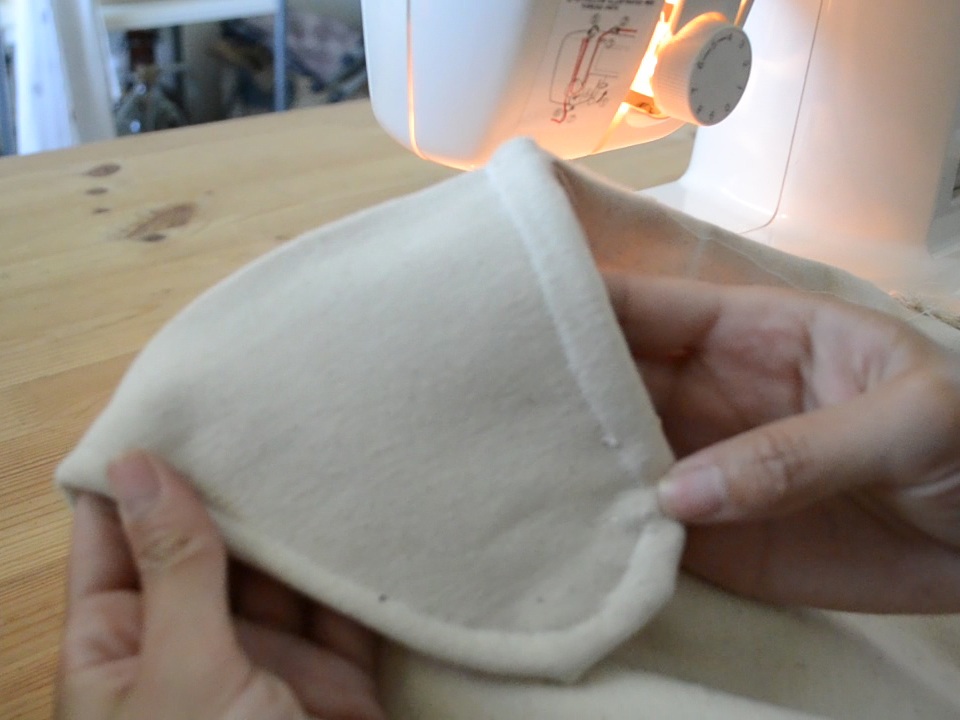
9. Take one pocket, which is two pieces of rounded canvas and sew along the straight edge.
10. Fold the pocket to hide the sewed line. Then place the pocket under the matching corner of the seat.
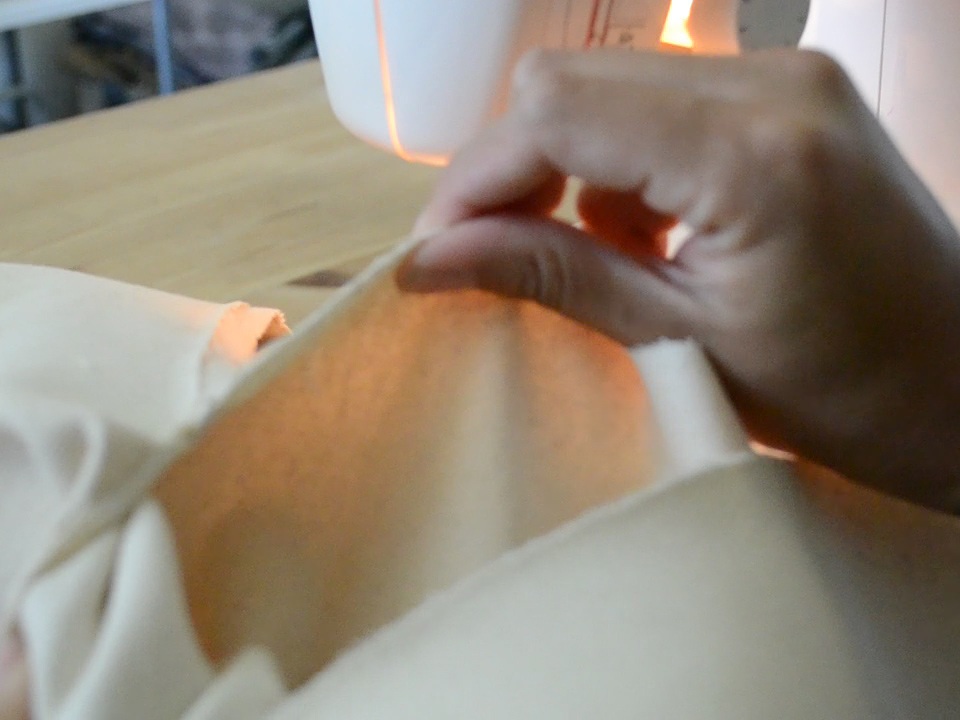
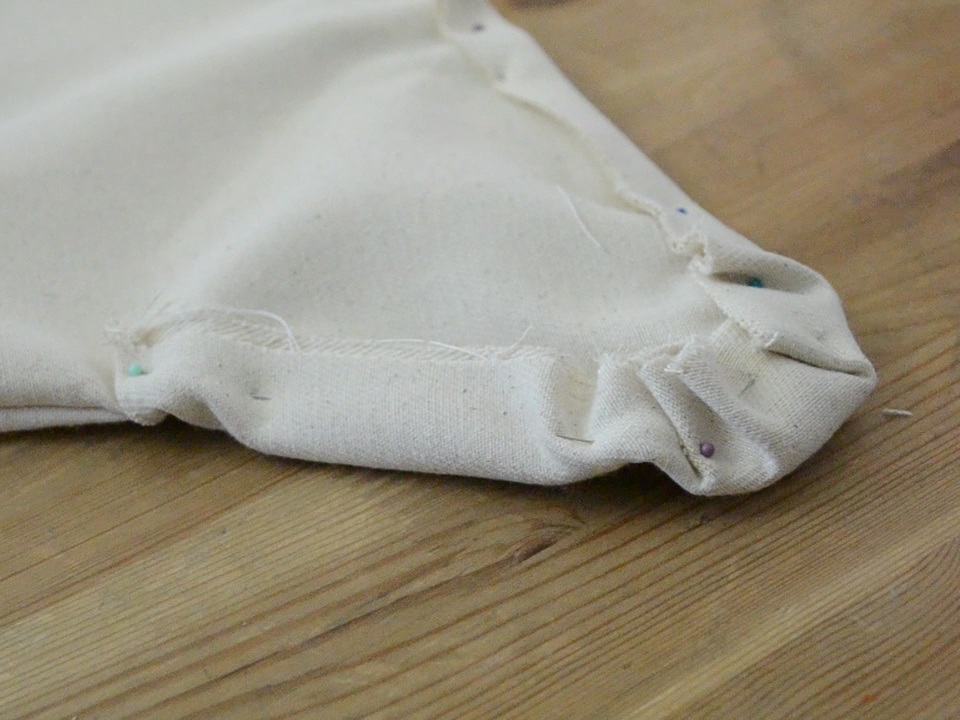
11. Start wrapping the sides around the corner and pinning them down. Kinda of looking like a dumpling. Do the same thing for each of the corner pockets.
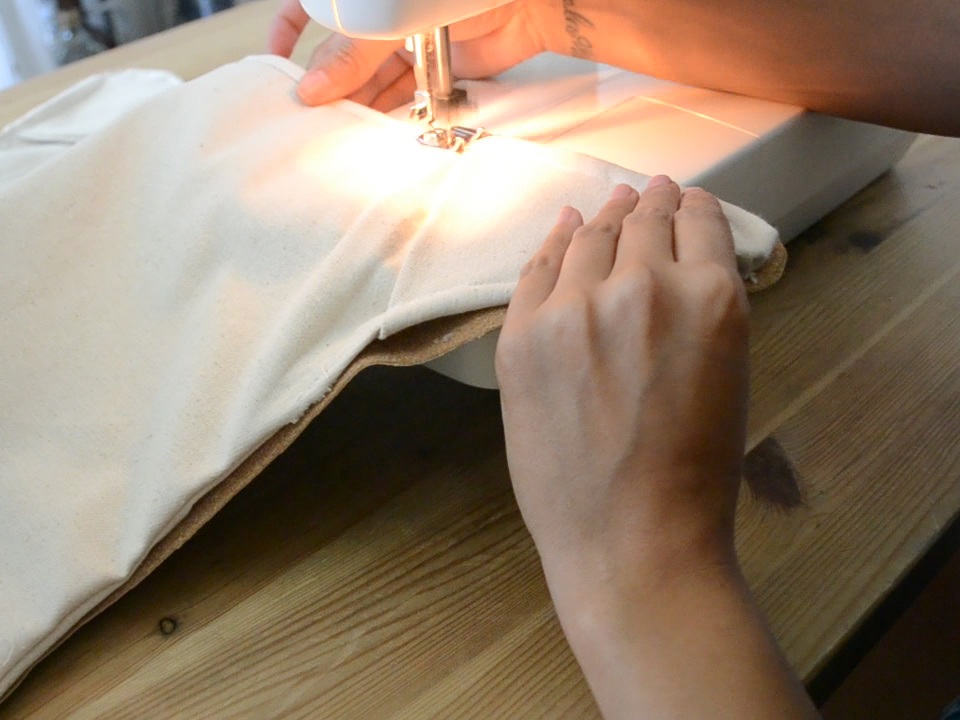
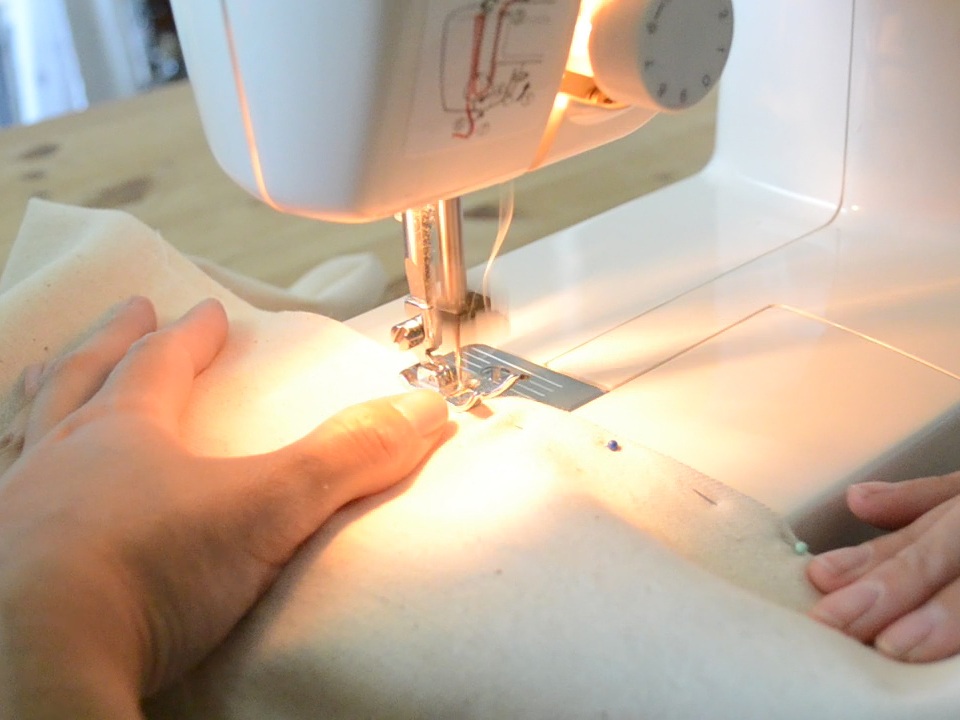
12. Now sew around the corners to attach the pockets. Depending on the thickness of your folds you might need a heavy duty needle. It was a lot for my machine to handle and I broke a needle.
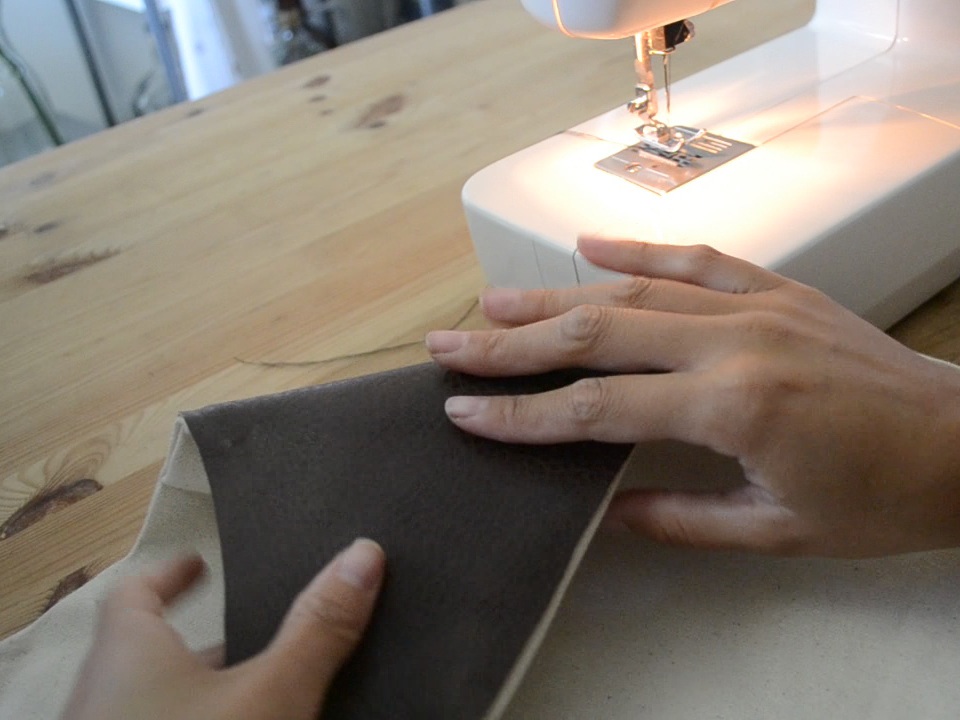
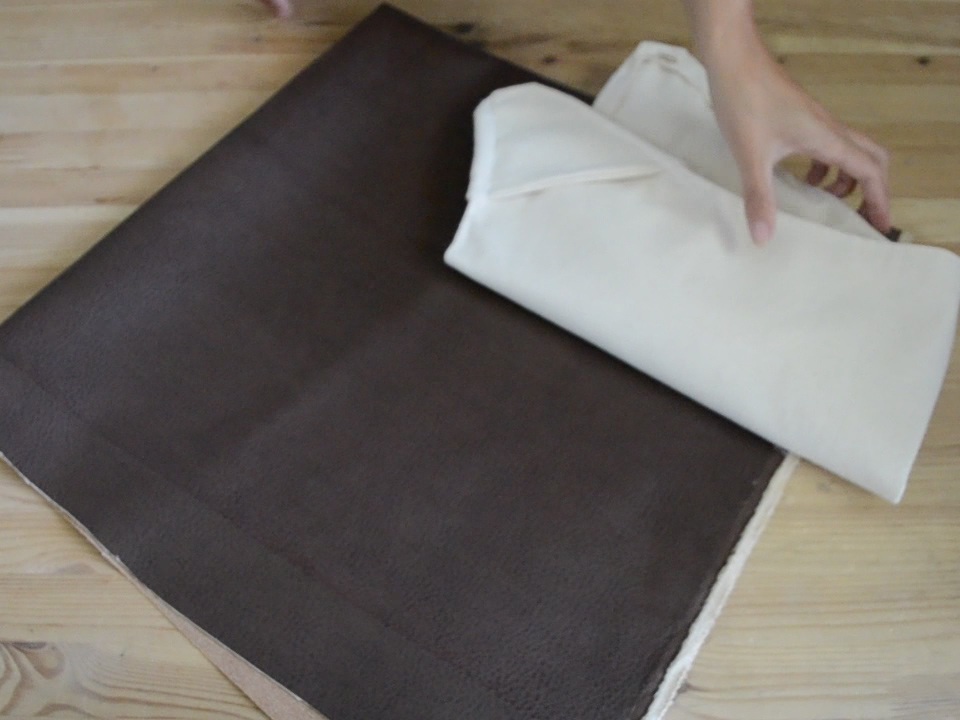
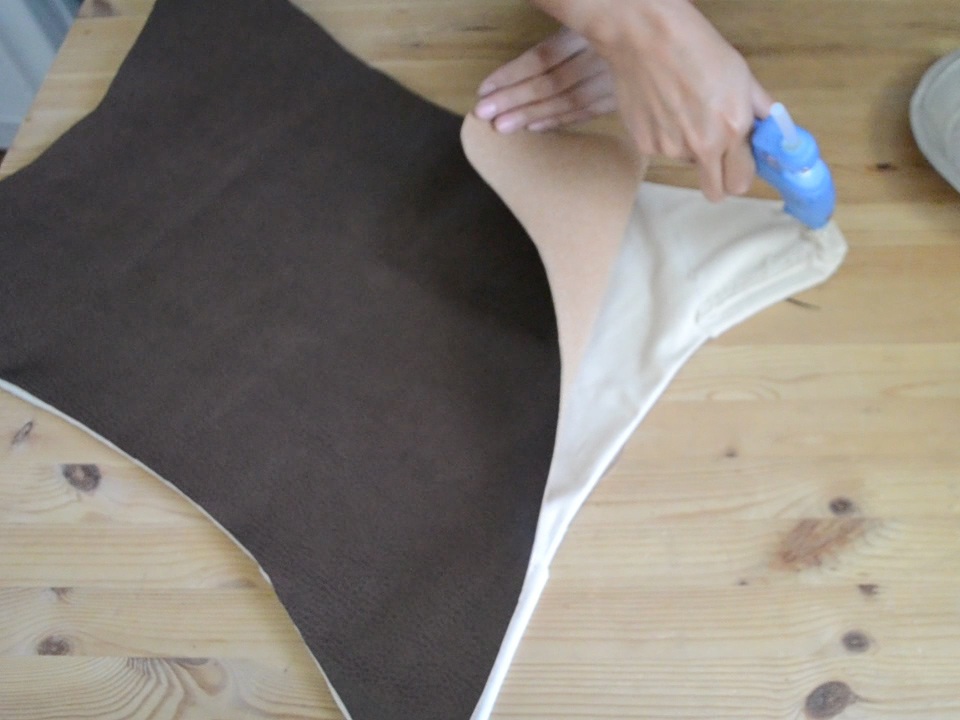
13. After you attach all four corner pockets to your slip cover, you’ll need to trace out a piece of leather that is the same shape as your slipcover.
14. Turn your canvas slipcover so that the pockets are facing down and place your leather piece on top. Before I sewed this down I used some hot glue to hold down the leather in place.

15. Now just sewed all along the sides of the cover.
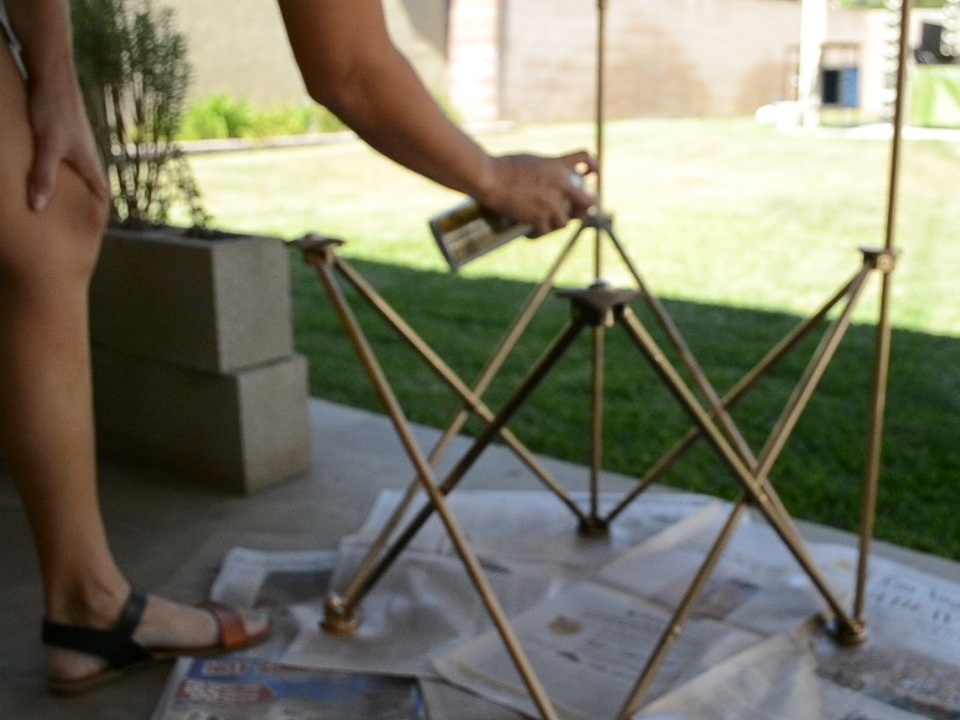
16. The finishing touch is spray painting the metal base gold.