DIY Clay Dishes
I took a ceramics class a few years back and I’ve always wanted get back into it, but for the lack of time and money I just haven’t. In the meantime, I thought I could use clay to make some simple objects. I love the little trays, bowls and objects from places like Anthropologie, Urban Outfitters, West Elm etc. and took some of their designs as inspiration. I love how simple this DIY is and you can really personalize these dishes to your own personality or to friends.
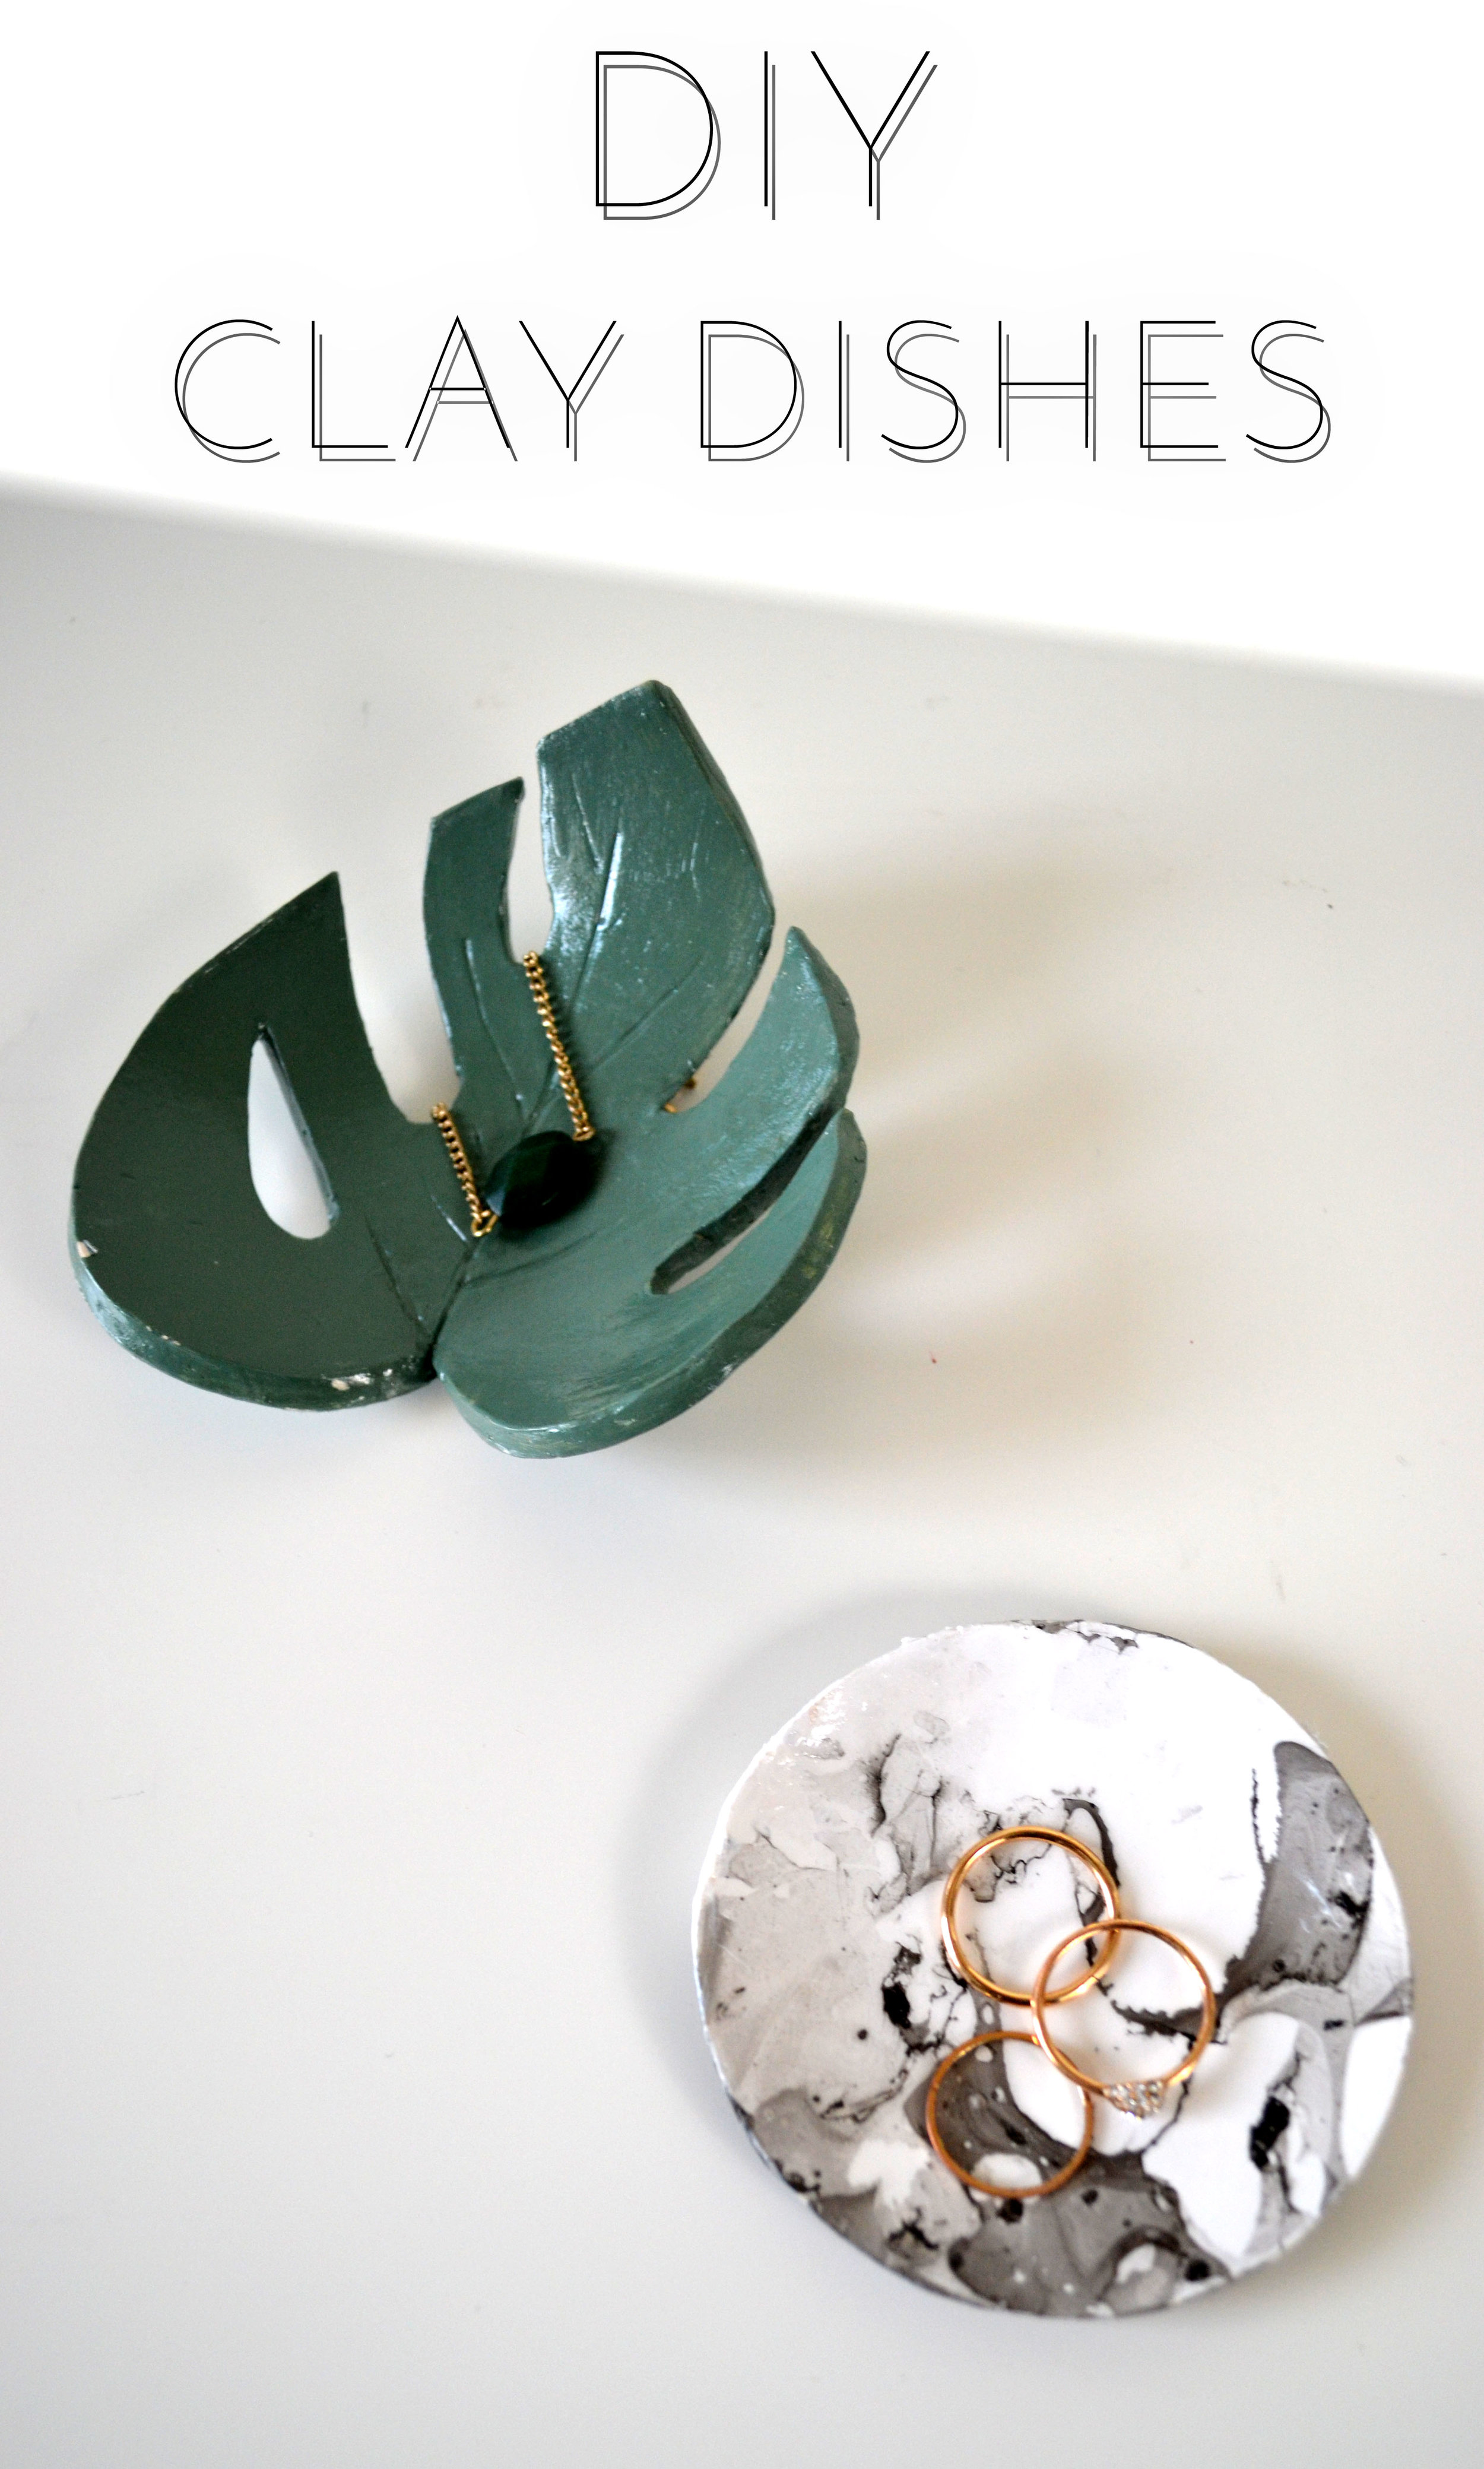
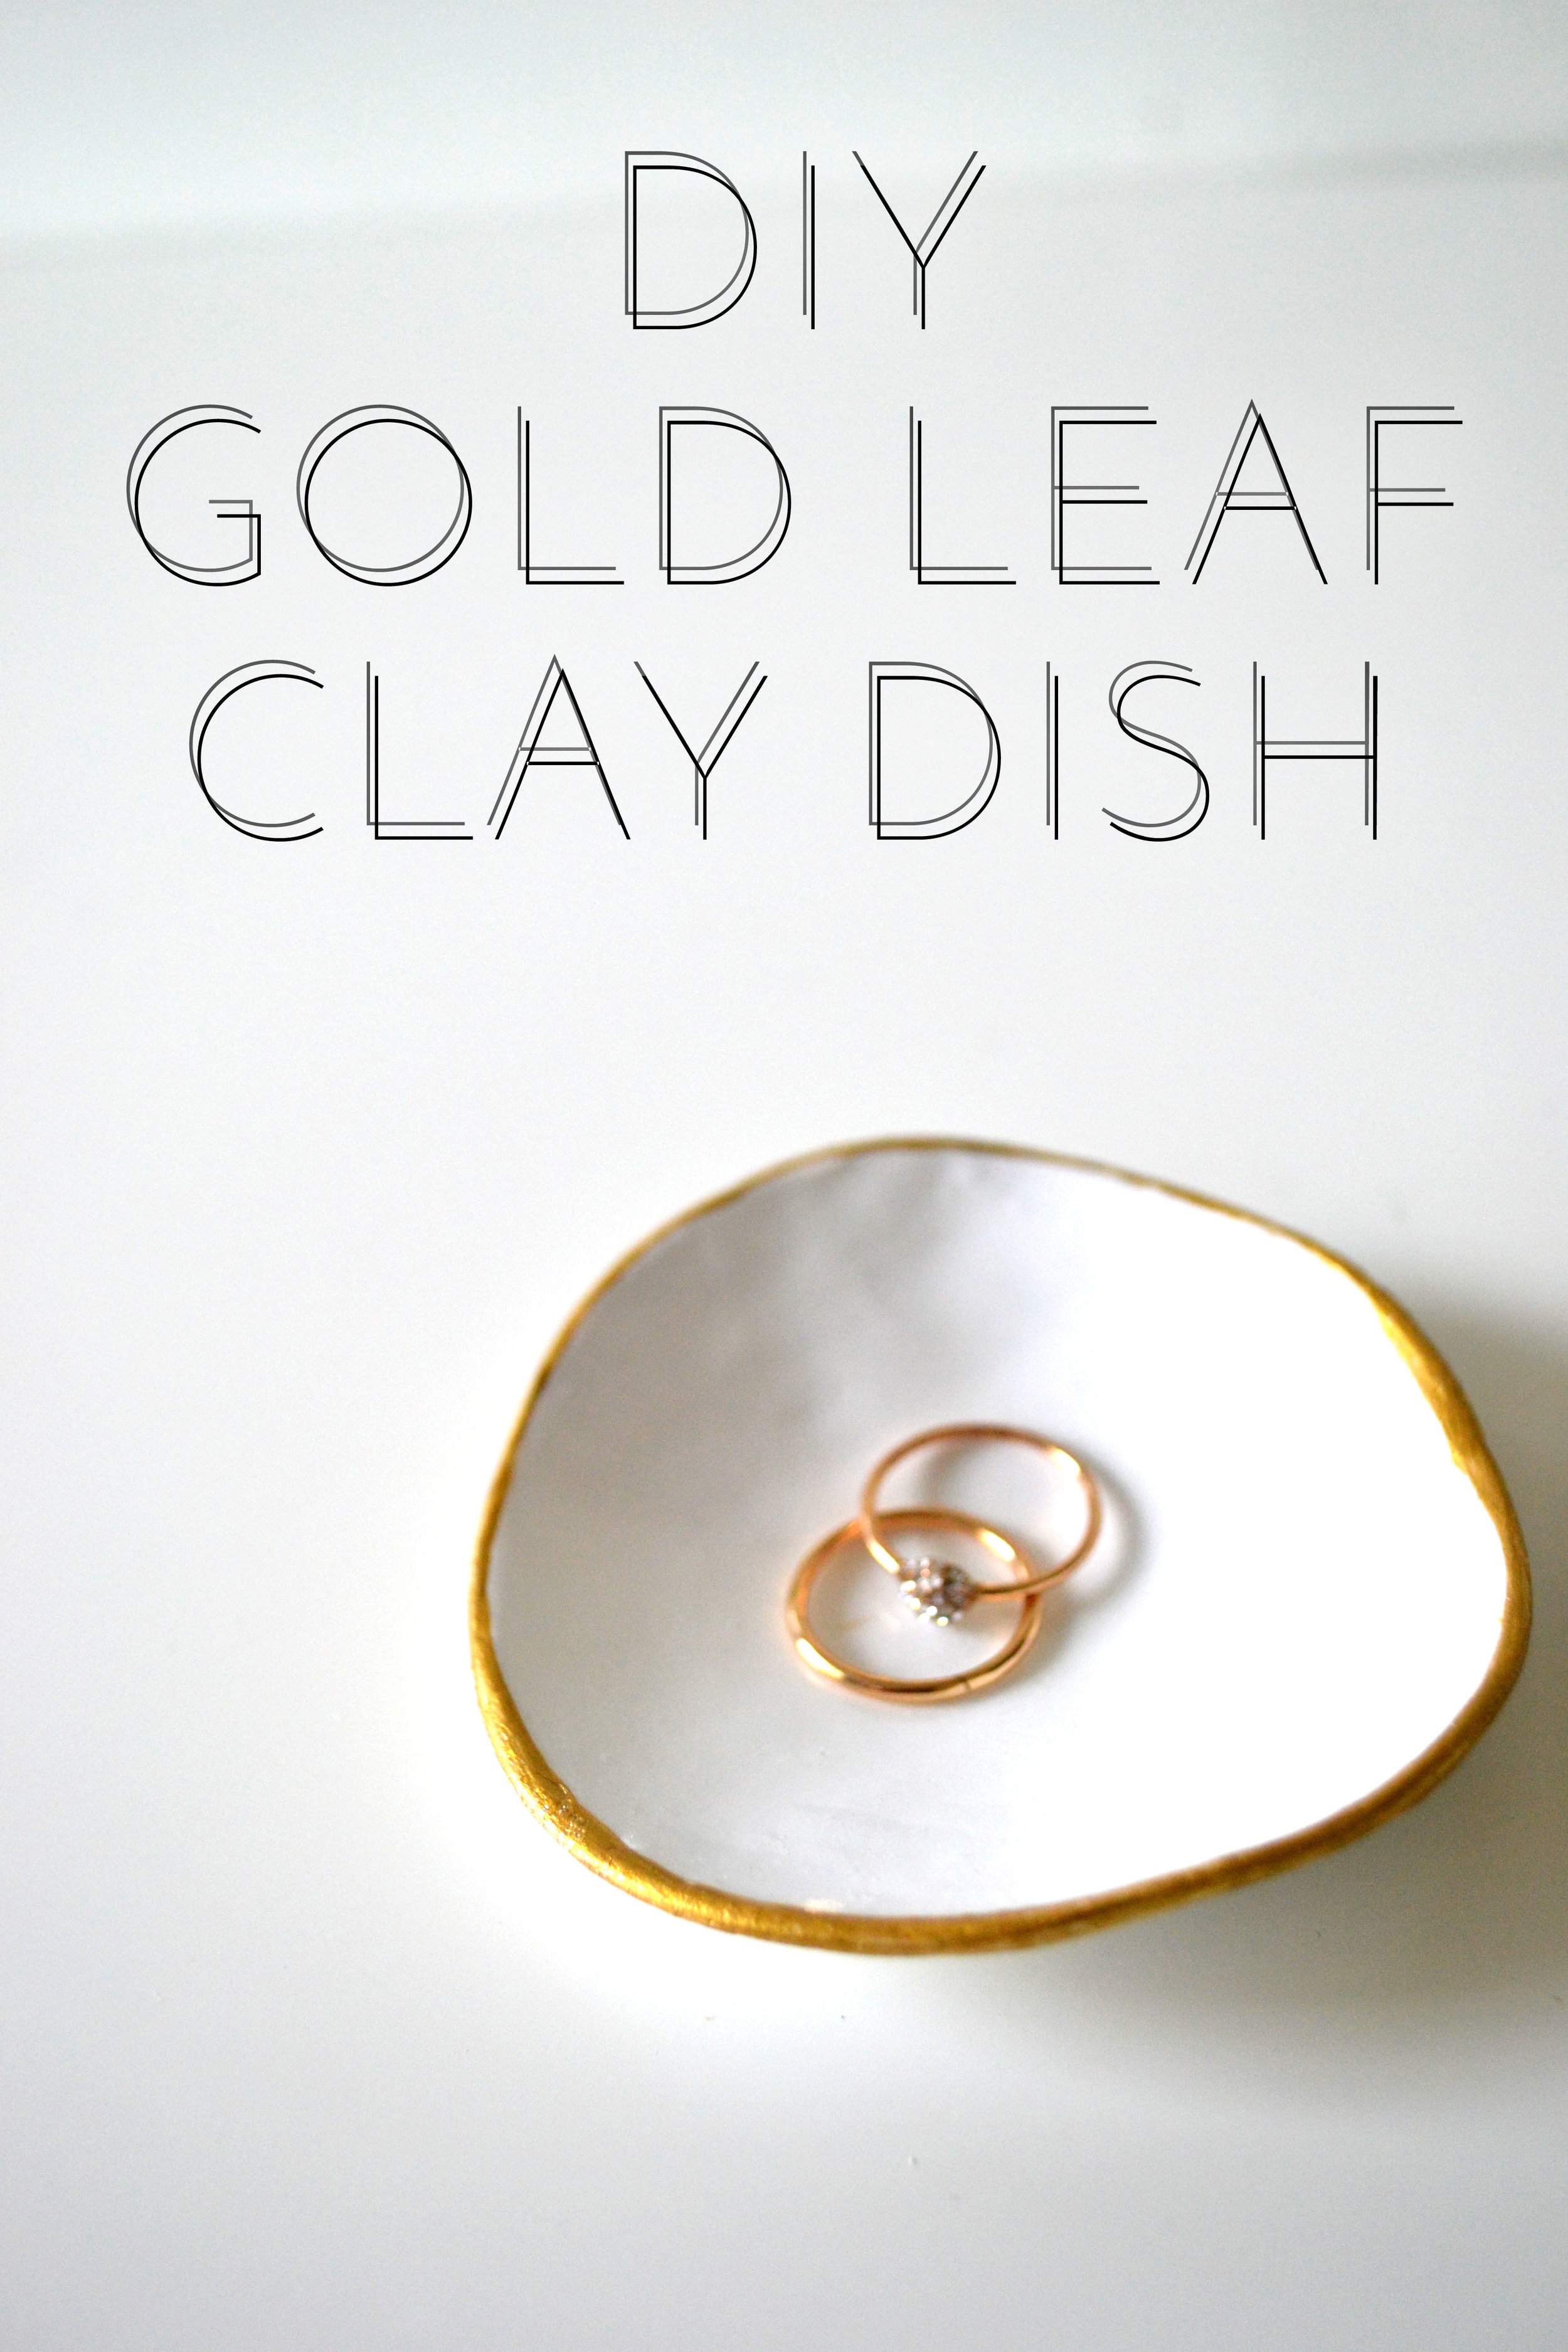
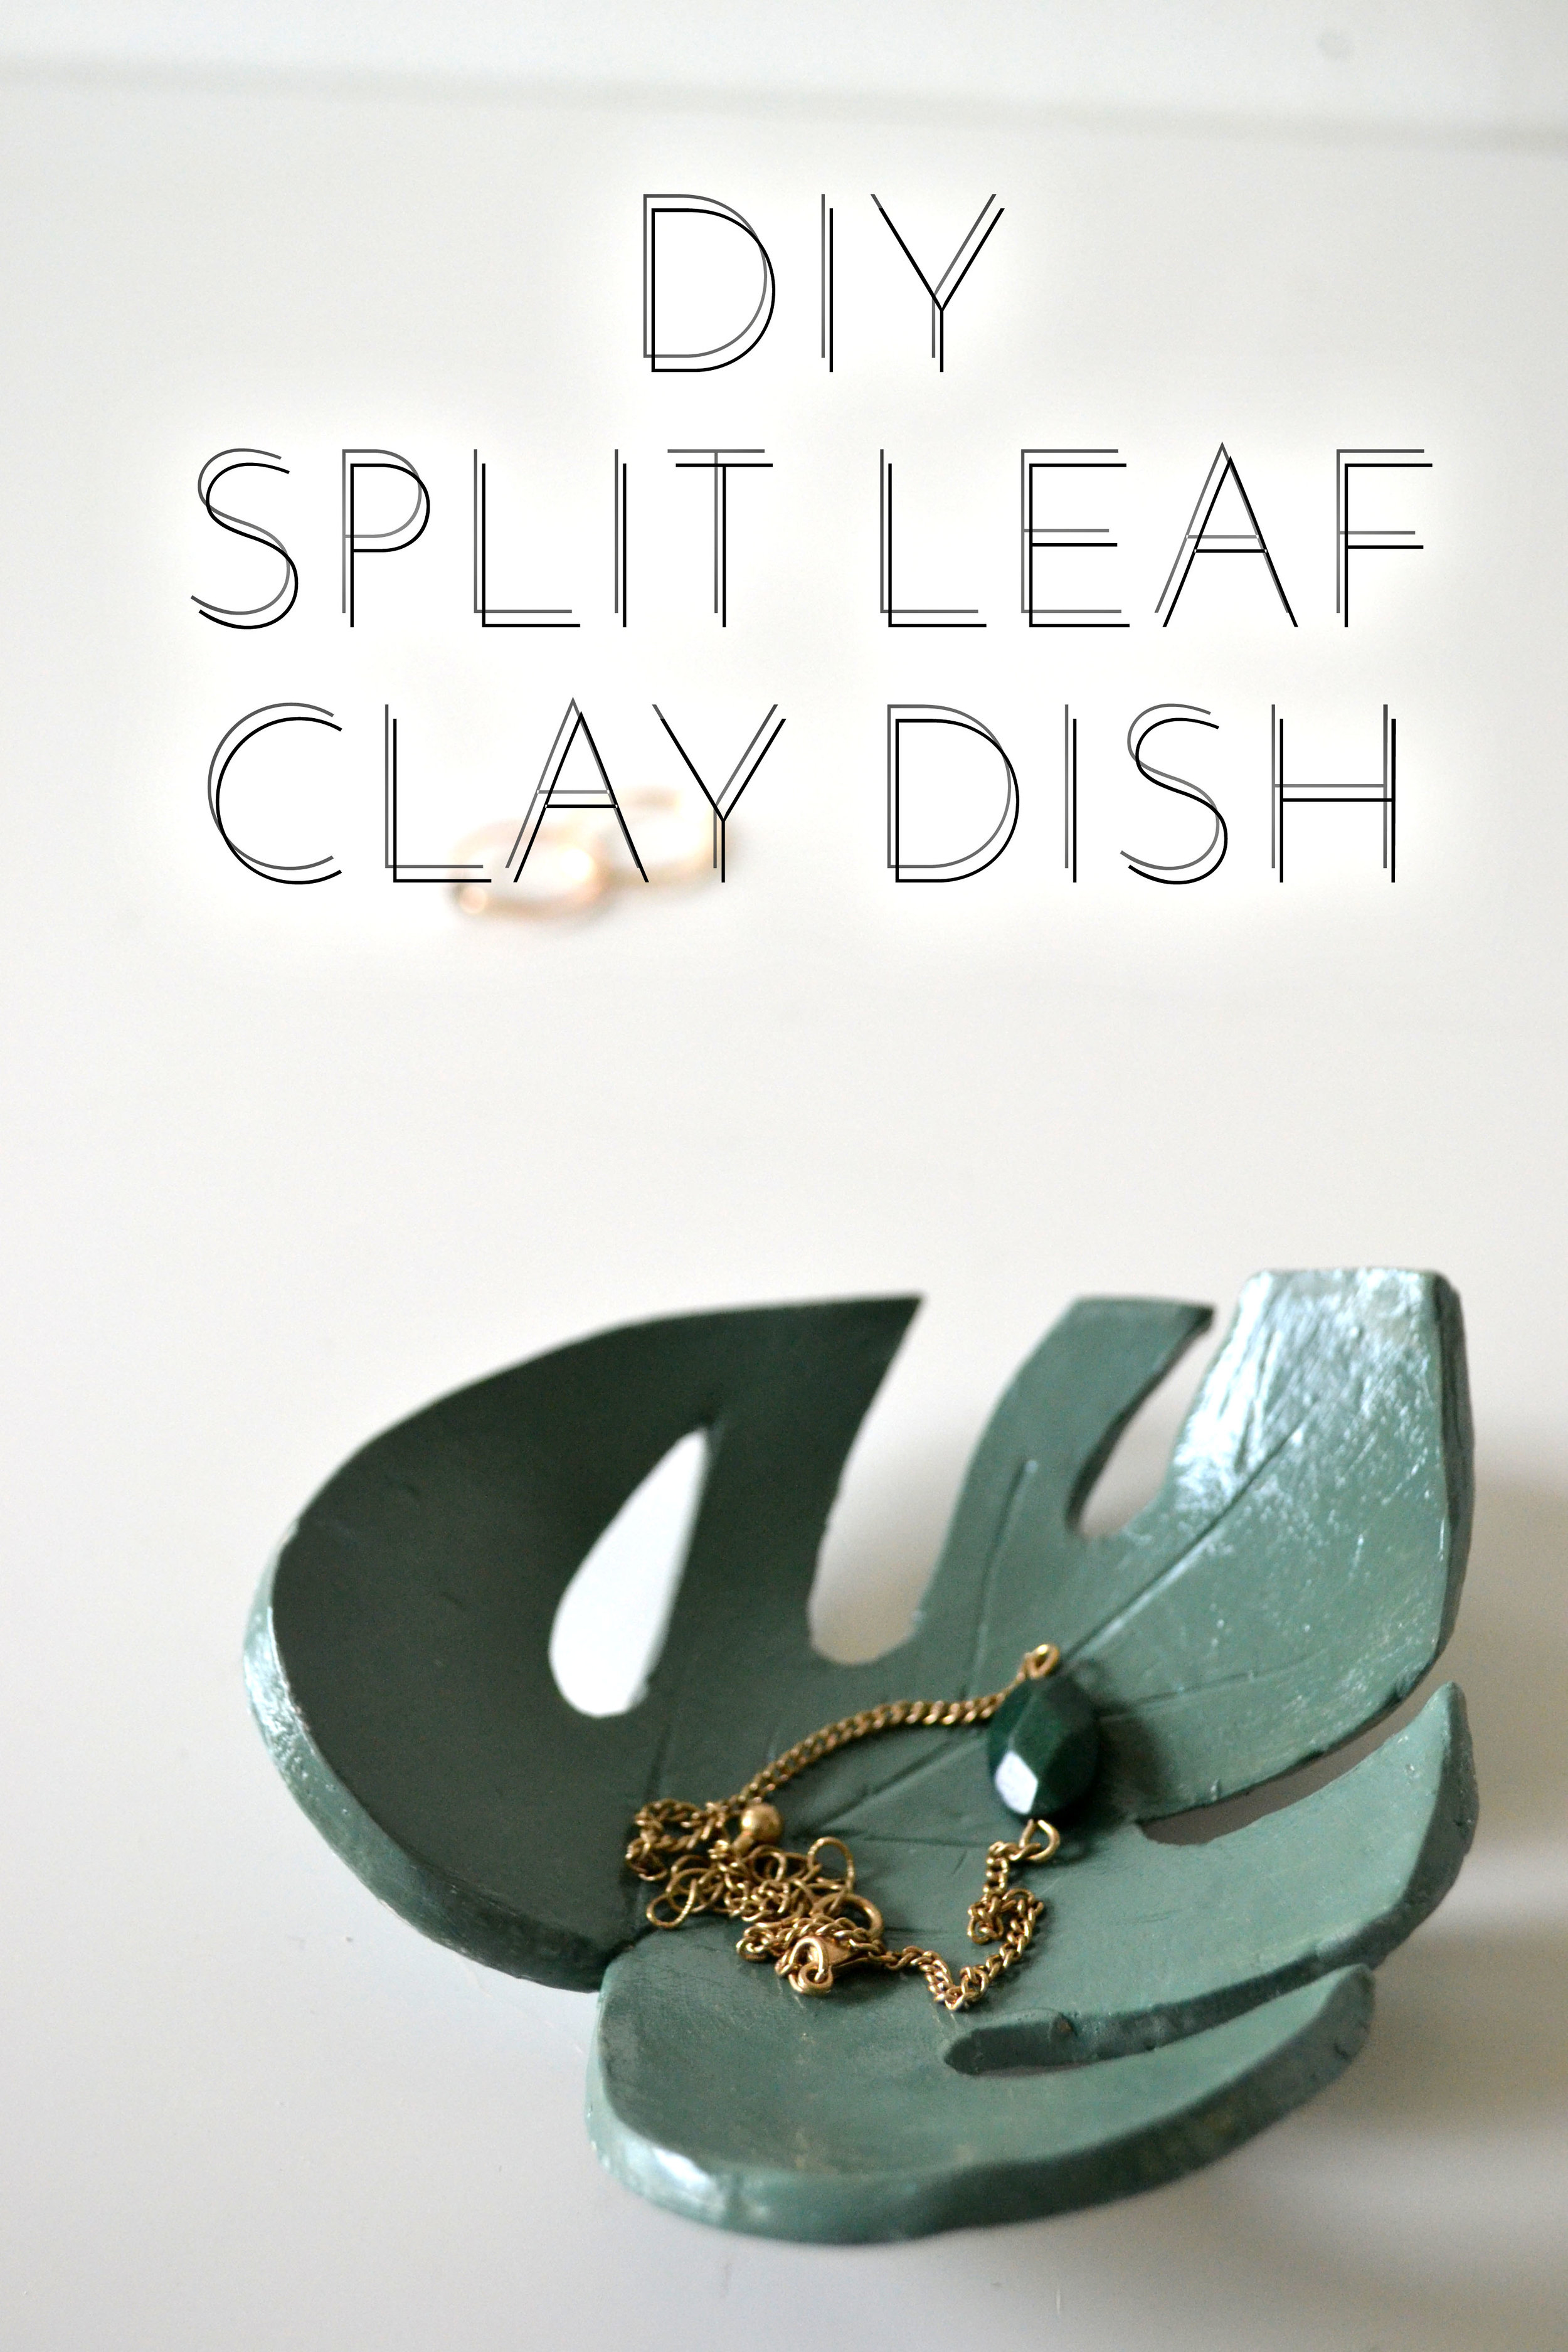
I made a variety of different dishes and ring holders. I am going to show you my three favorites. One is a split leaf shape, one is a simple round dish with a marble texture and the last one has a gold leaf trim. Scroll down to the bottom to watch my full video on how to make these dishes in more detail.


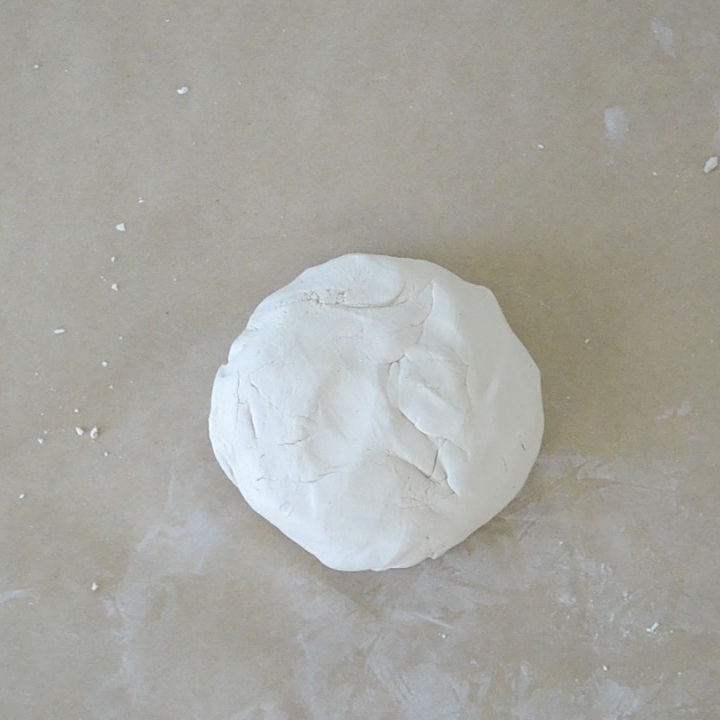
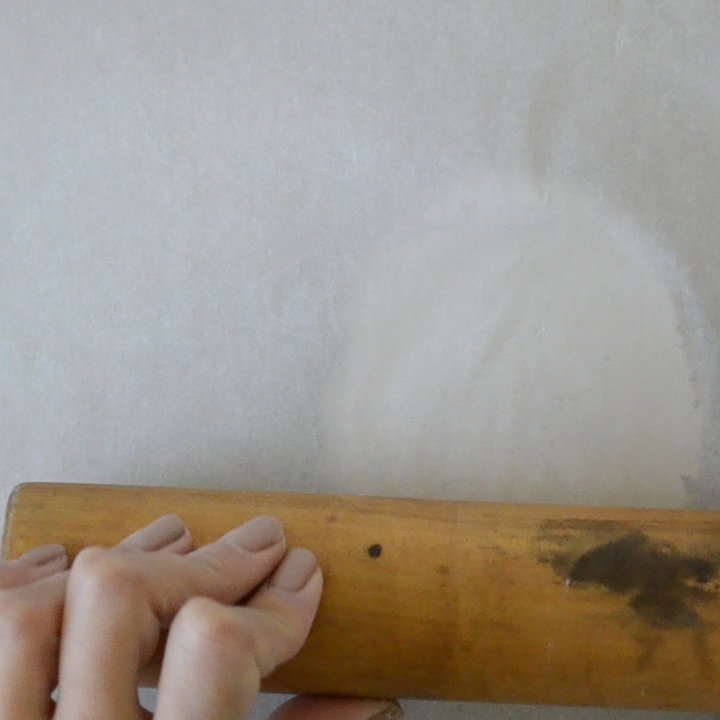
1. Start by getting any clay of your choice and rolling it out.
2. Place some parchment paper on top of the clay so it doesn’t stick to your rolling pin.
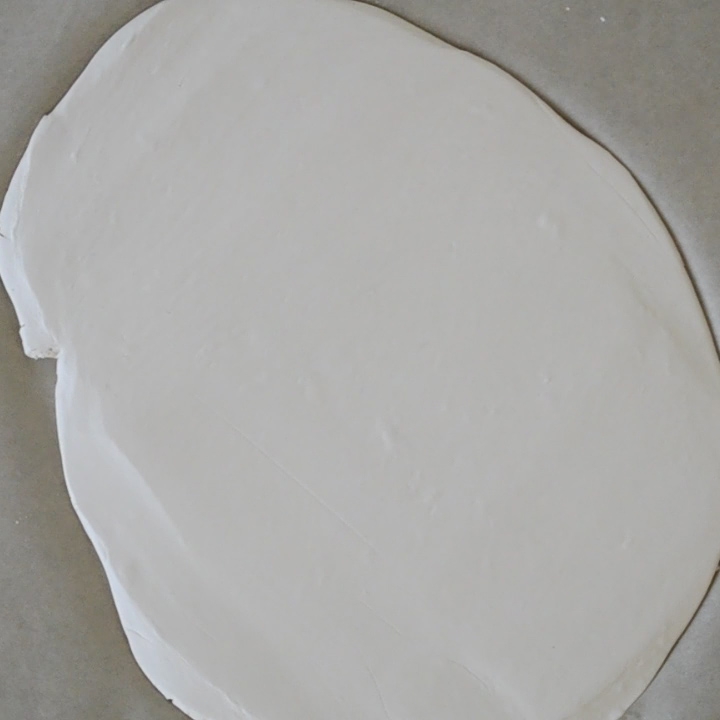
3. Be sure not to roll it out too much, you want to have about One eighth to a quarter inch thickness.
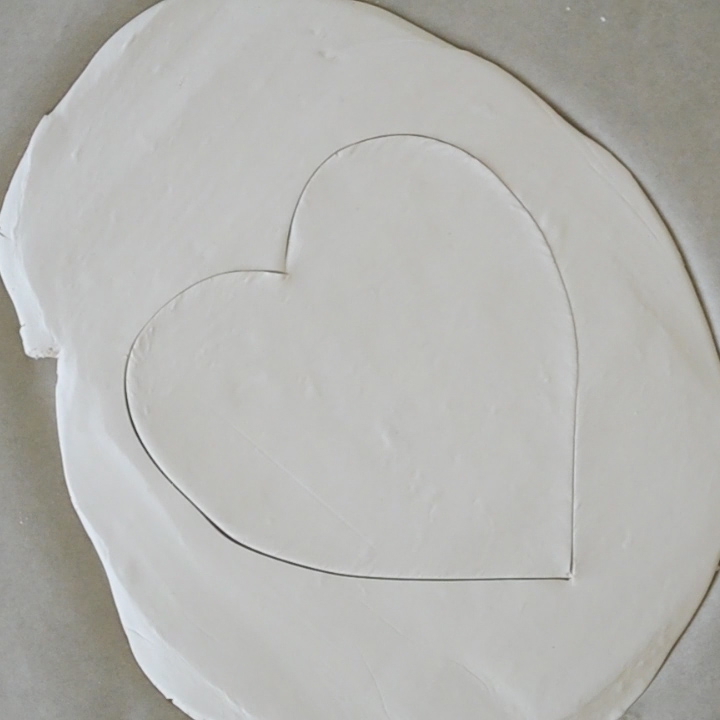
4. Using an xacto knife cut out a heart shape.
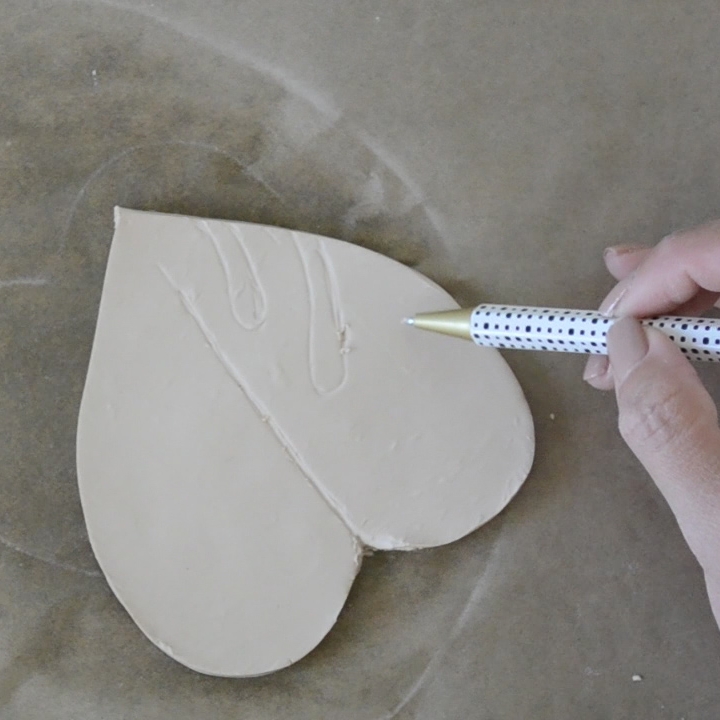
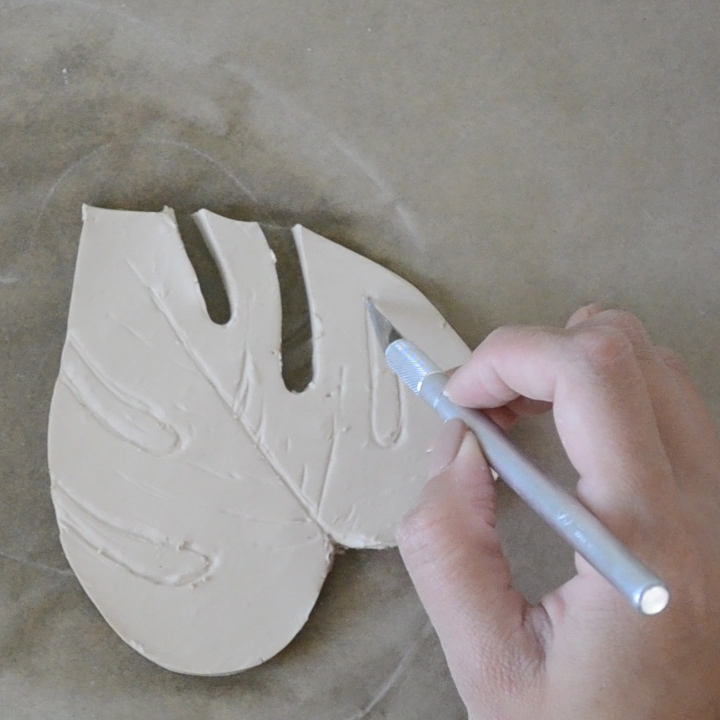
5. Take a pencil or pen and draw out cutouts on the leaf.
6. Once you have your leaf the way you want take your xacto and carefully cut out your slits.
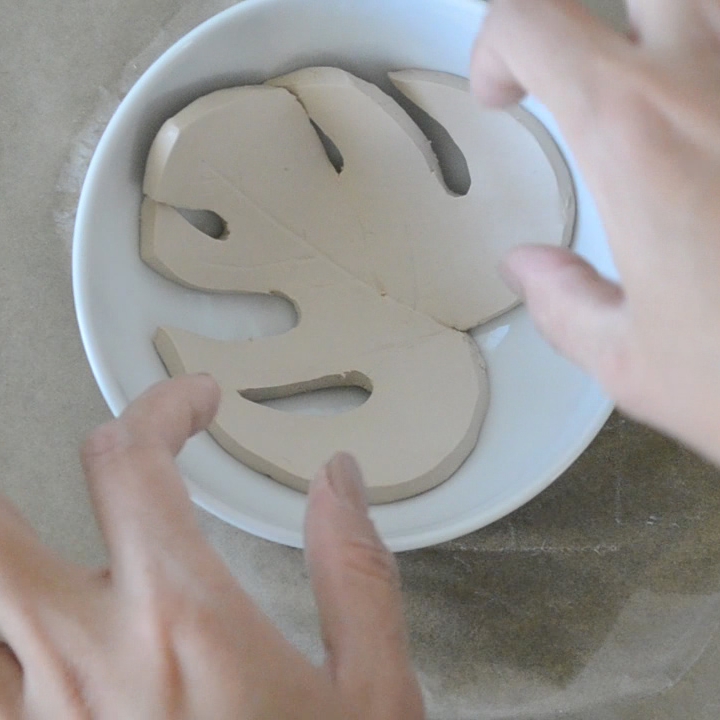
7. Place your leaf in a bowl and let it dry for 24 hour.
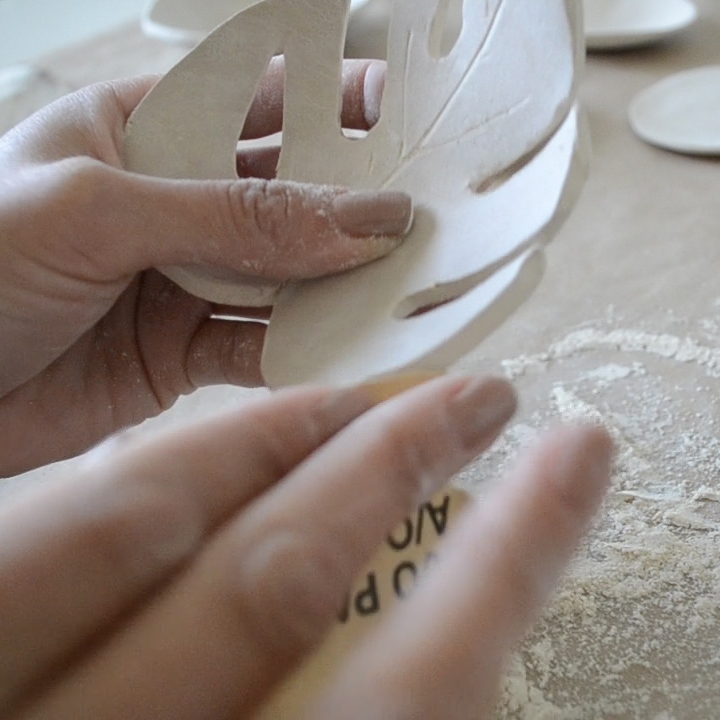
8. Sand any rough edges.
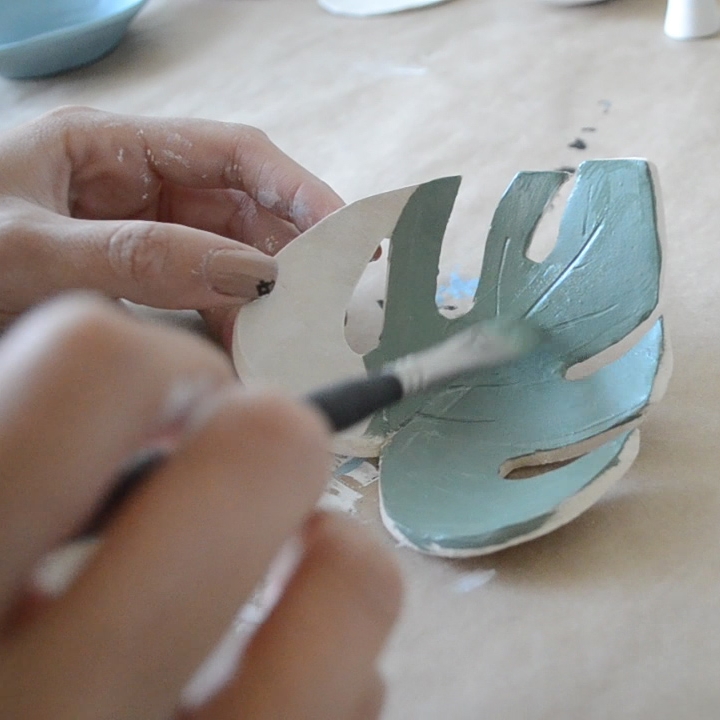
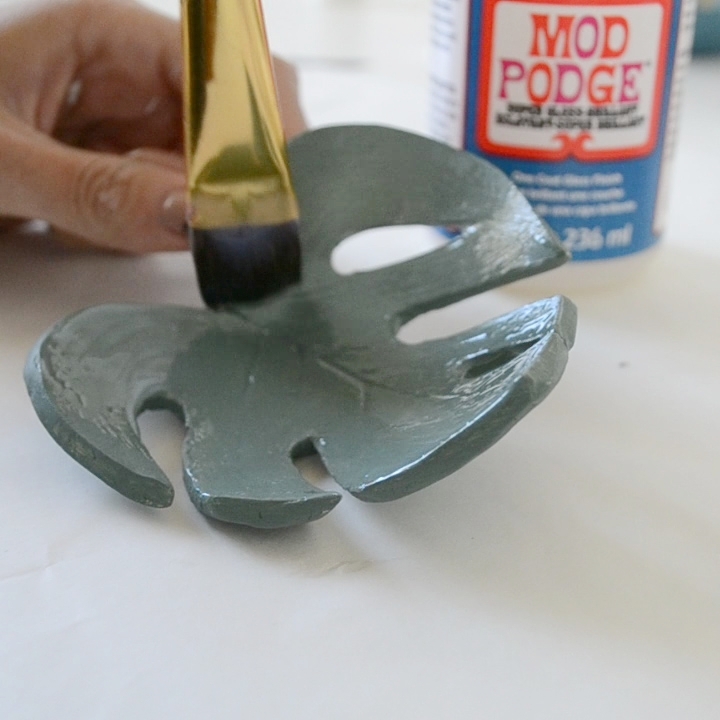
9. Paint whatever color you want.
10. Finish with a coat of Mod Podge.

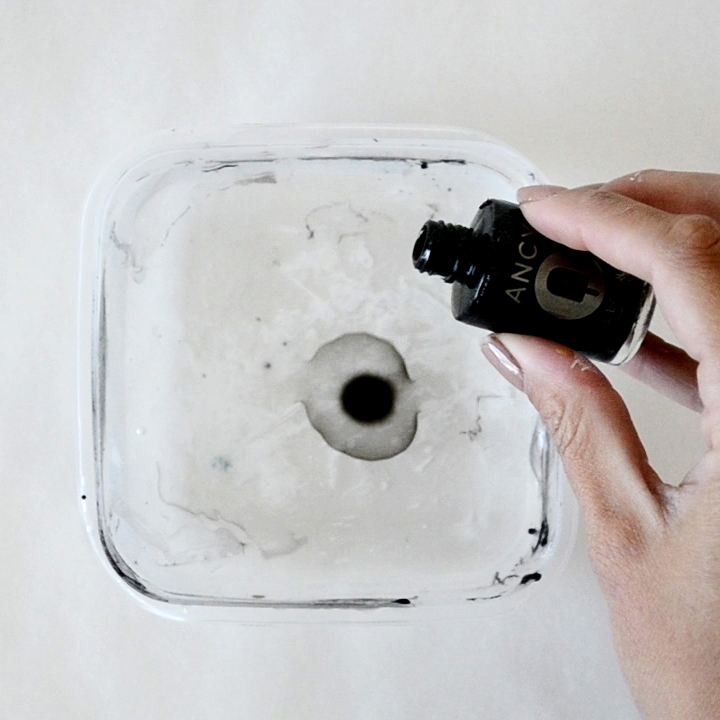
1. To create a marble texture get a shallow cup of water and put a few drops of nail polish in there.
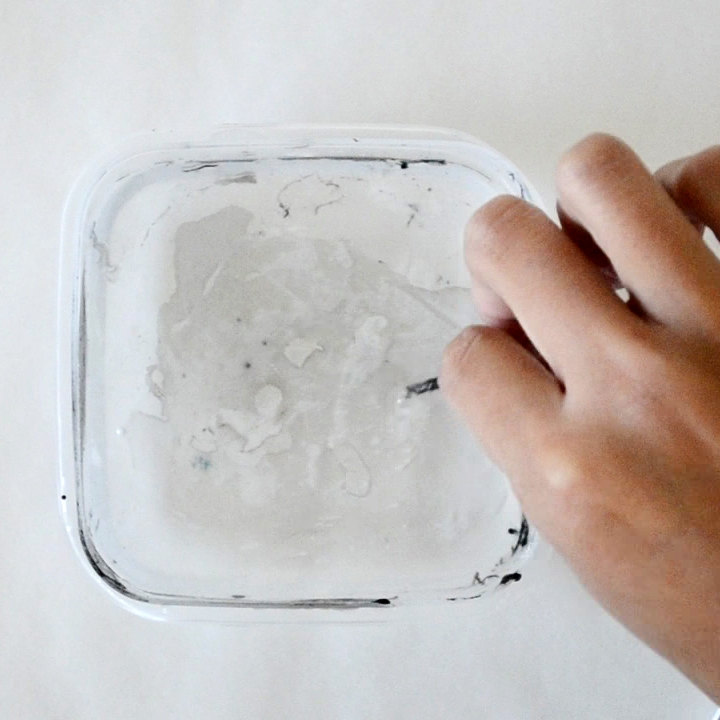
2.With a tooth pick swirl around the paint to a pattern you like.
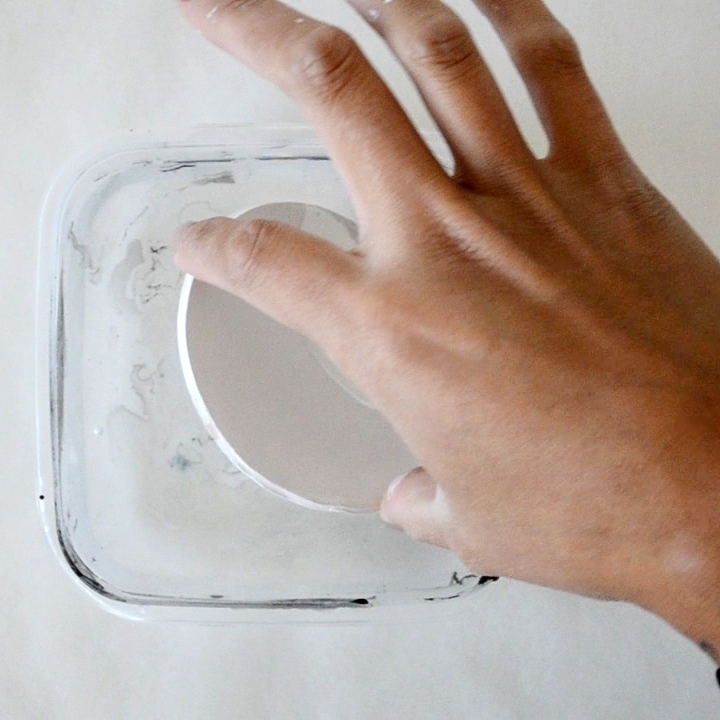
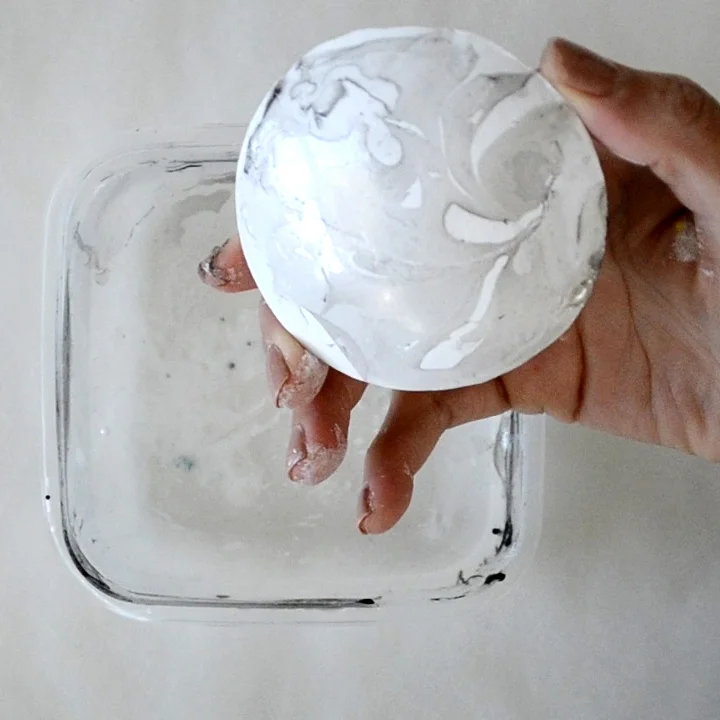
3. Take your clay dish and dip it in the water.
4. The paint should instantly attach to the clay.
5. Add a coat of Mod Podge to seal the paint.